| Admin | Co-admin | Asset Manager | Viewer | ||
|---|---|---|---|---|---|
| Agents | Add | ||||
| Edit | (Agent Name Blocked) | ||||
| Delete | |||||
| Probing Distributions | Add | ||||
| Edit | |||||
| Delete | |||||
The SEI Cloud Agent is a Docker container image built on Ubuntu Server and engineered for deployment on virtual machines (VMs) with modern container runtimes in any Linux environment.
Service Experience Insights neither supplies nor maintains the VMs running the agent. The host VM’s owner or their chosen managed service provider is responsible for maintaining host VMs, including applying patches and updating security.
For users familiar with container runtime deployments, installing the SEI Cloud Agent to a VM with a container runtime is as simple as fetching the SEI Cloud Agent container image, configuring the image, and deploying the container.
The following article outlines the steps for deploying the SEI Cloud Agent on VMs hosted in major public cloud environments. While it focuses on public clouds due to their common use, the deployment steps broadly apply to any VM with a container runtime in a Linux environment.
Prepare VMs to support SEI Cloud Agent containers
OS Image
Ubuntu Server 22.04 LTS is a verified and recommended running environment of the SEI Agent.
Also view the official Ubuntu documentation for details of cloud images. Canonical provides commercial support for Ubuntu OS and may provide “Pro” OS images maintained by Canonical.
Required VM Spec (Instance Types)
SEI Agents consume few resources when performing network probing tests. However, agents responding to many inbound Speed Tests* can consume more resources. Please select an appropriate instance type on your cloud environment according to the following recommended resource requirements below:
Note: When an SEI Agent is used as a speed test target, it requires enough bandwidth to handle possible concurrent requests from multiple agents. Resource planning is required before deploying speed test agents. Estimate the number of agents originating speed test requests and the internet speed being tested. Then, consult the Speed Test Data Usage section of the Data Usage Estimation article to estimate the resources required for the deployment.
Network Configuration
The VM must have Internet access to reach the SEI Cloud Controller. See Firewall Settings for the required firewall rules.
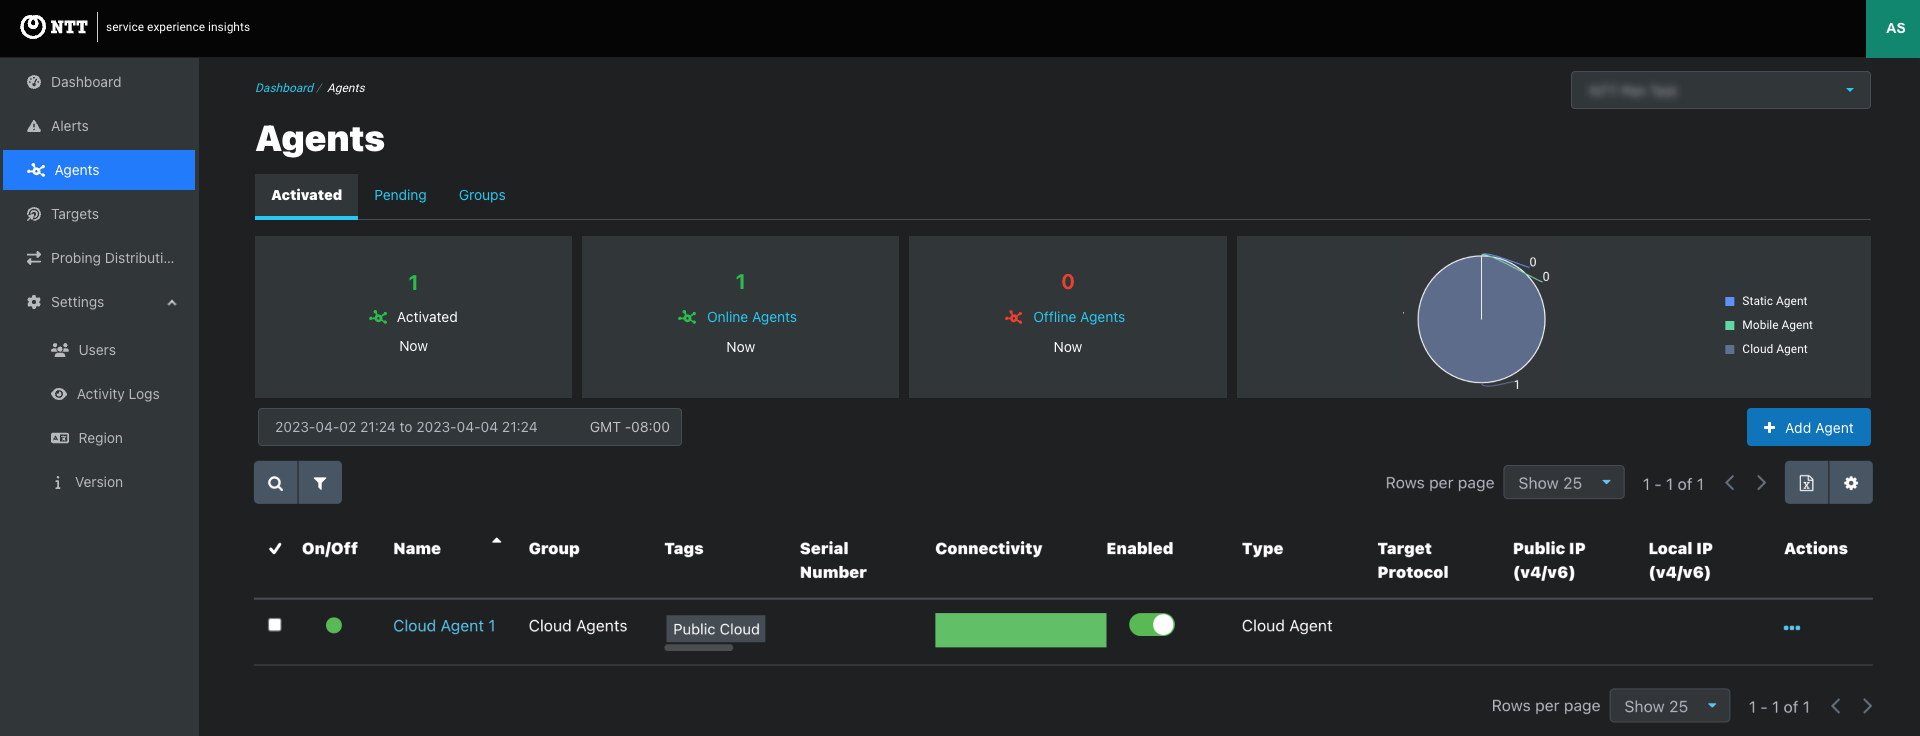
Create an agent for each host device
Click the Add Agents button on the Agents page
Following are agent configurations for this deployment. See the Agents article for more information about agent configuration.
| Input | Input Type | Options | Instructions | Required |
|---|---|---|---|---|
| Name | Text | -- | Enter a display name for the agent:
| Required |
| Group | Single select dropdown | Select an existing group |
| |
| Tags | Multiselect dropdown | Select an existing tag or add a new tag |
| |
| Type | Single select dropdown |
|
| Required |
| Enable As Target | Checkbox | Unchecked (default) |
| |
| IP Type | Single select dropdown |
|
| Required for target-enabled agents only |
| IP Version | Single select dropdown |
|
| Required for target-enabled agents only |
| Target Protocol | Multiselect dropdown |
| Select one or more target protocols for this managed target agent. | Required for target-enabled agents only |
| UDP Port | Text | 5001 (default) | Enter UDP Port. | Required for target-enabled agents only |
| Speed Test port | Text | 8080 (default) | Enter Speed Test port. | Required for target-enabled agents only |
| Activation Method | Single select dropdown |
|
| Required |
| Location Preference | Single select dropdown |
|
| Required |
| Location | Text | -- |
| Required for:
|
| Contact Name | Text | -- | Enter the contact name of the person responsible for agent software activation. | |
| Text | -- | Enter the email address of the person responsible for installing and maintaining the agent software. | Required | |
| Email Language | Single select dropdown |
| Choose the language for the agent activation email | Required when Individual Token selected |
| Skip Activation Email | Checkbox | Unchecked (default) | Unless checked, Individual Tokens are automatically emailed to the email address in the client record. |
Installing The Docker Engine
The SEI Agent is provided as a Docker container image and the Docker Engine is required to run the agent on the VM.
Ubuntu Server 22.04 LTS does not come with the Docker Engine by default. It must be installed following the instructions of the official installation documentation provided by Docker Inc.
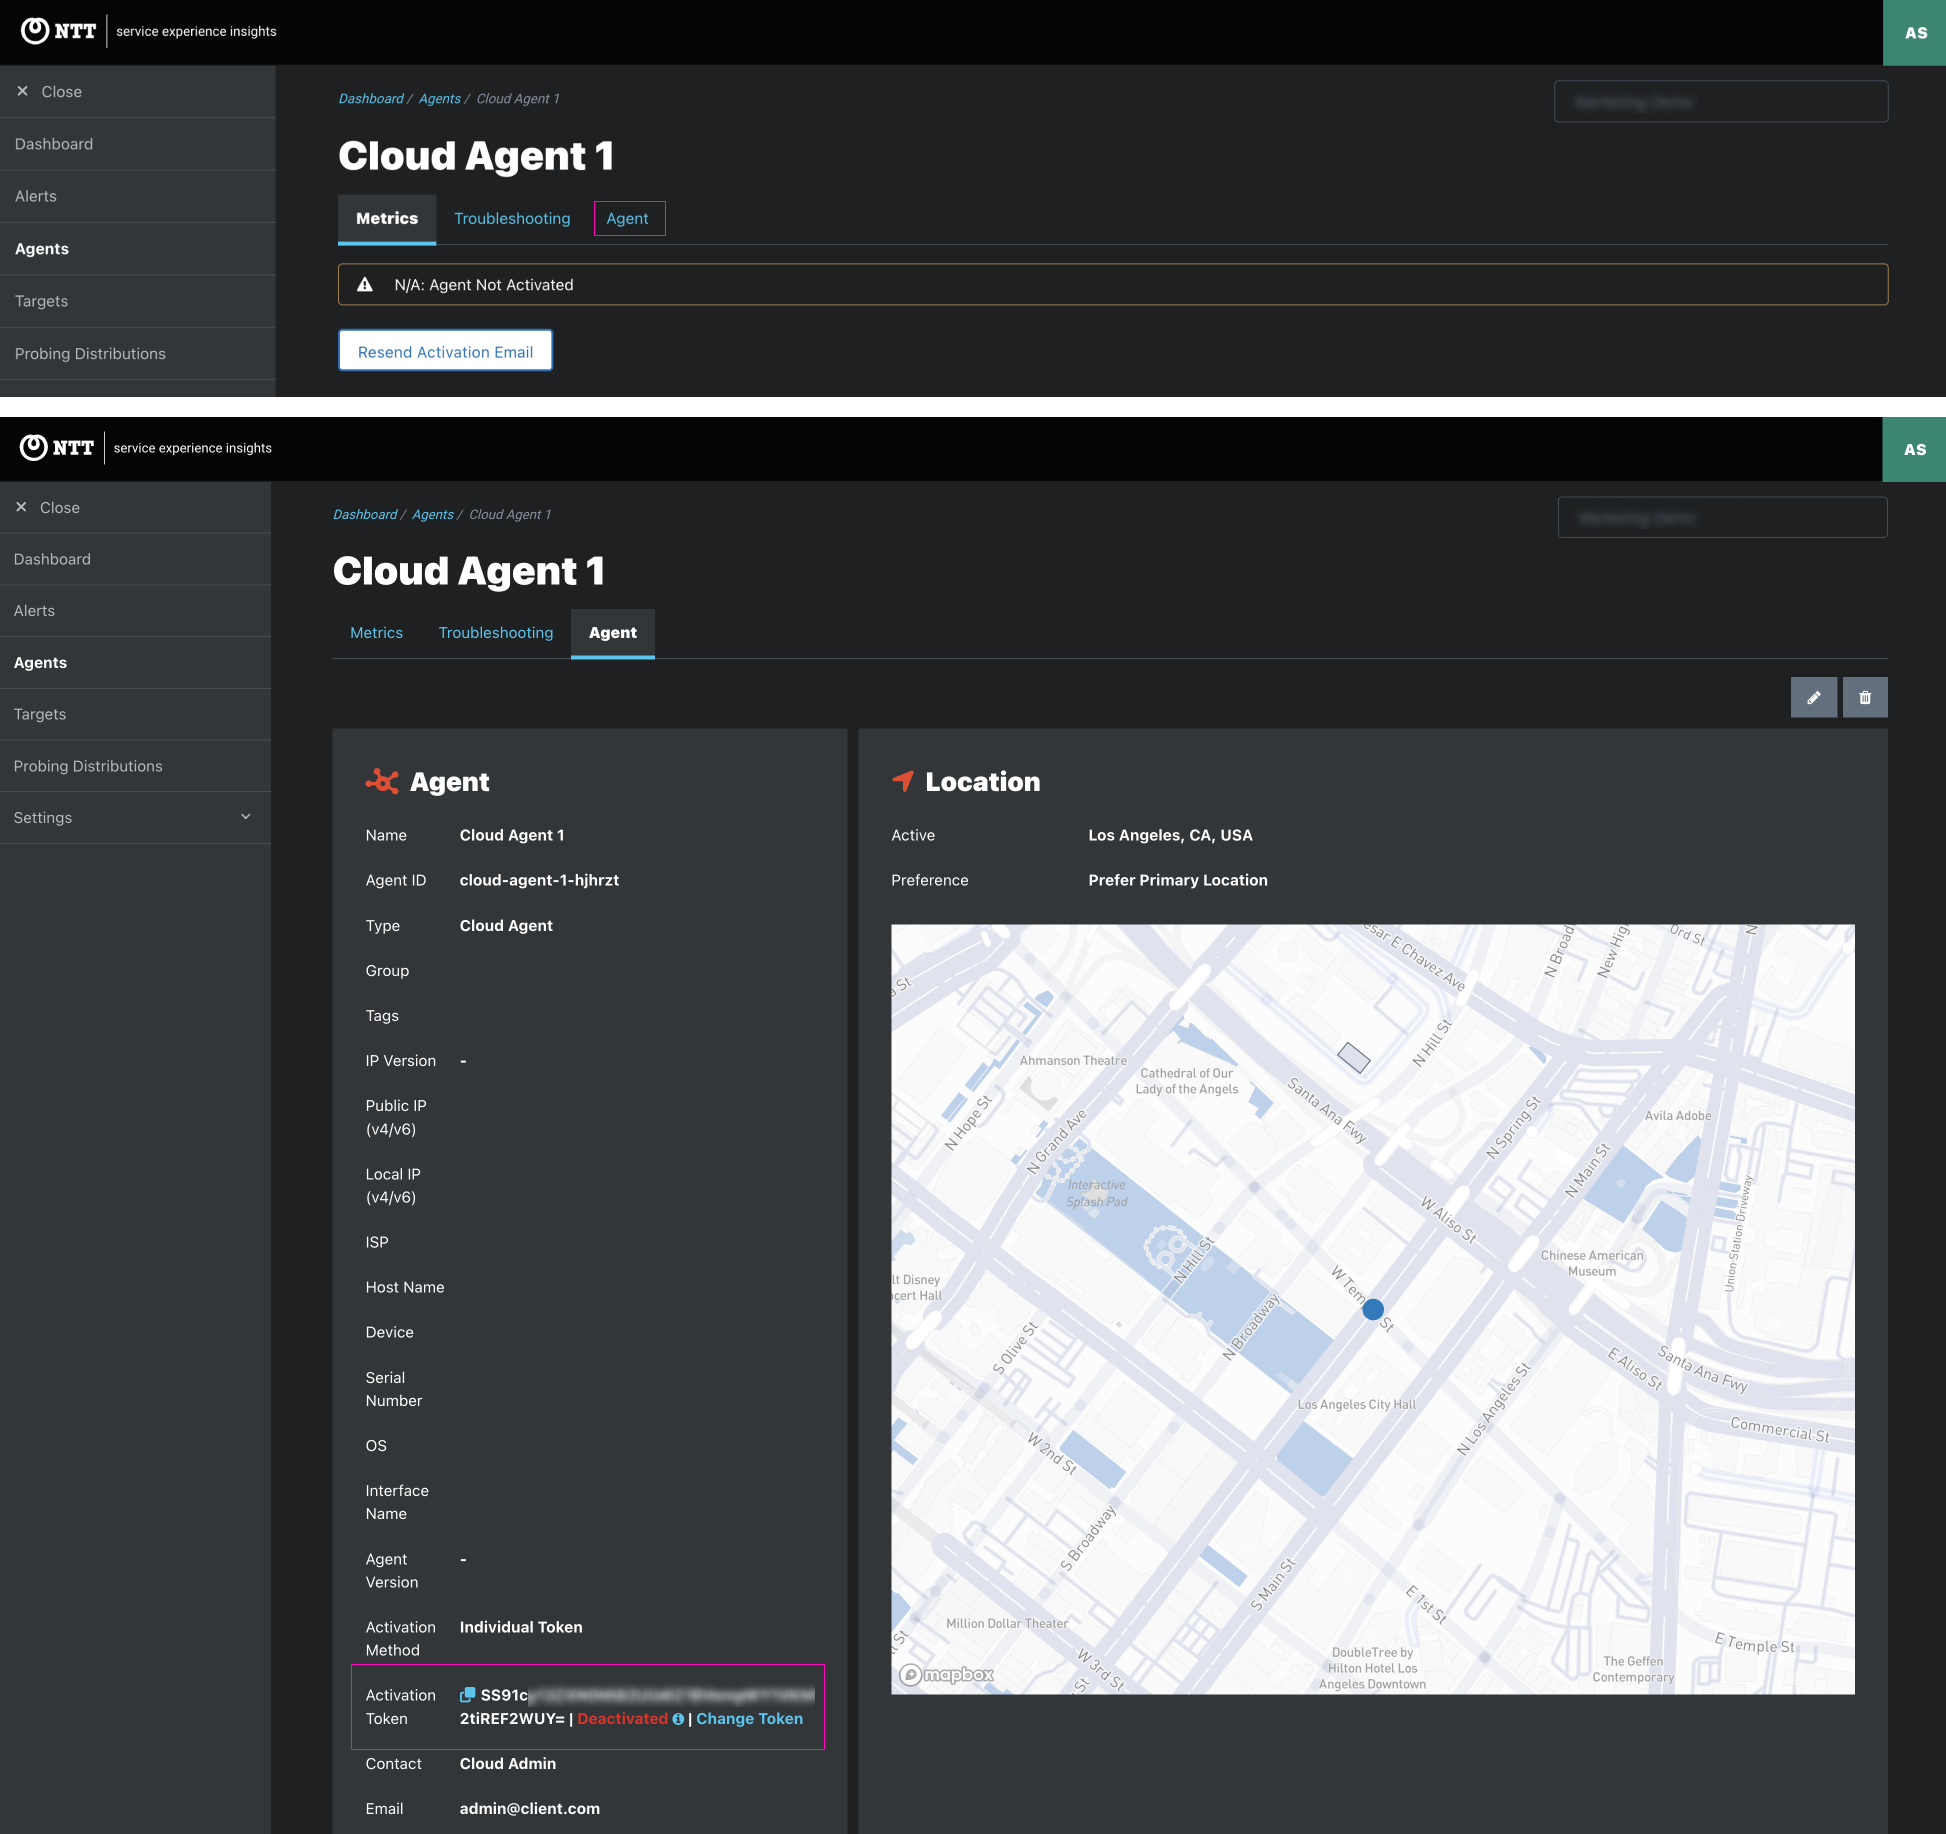
Fetch Activation Token
Shared tokens provide the option of using a single token to activate multiple agents.
Shared tokens allow the reuse of the same Docker instructions for each agent deployment.
Shared tokens are not shown in the SEI Dashboard as a security measure.
Contact your NTT representative to request a shared token. They will provide the shared token by a secure communication method established between NTT and your company.
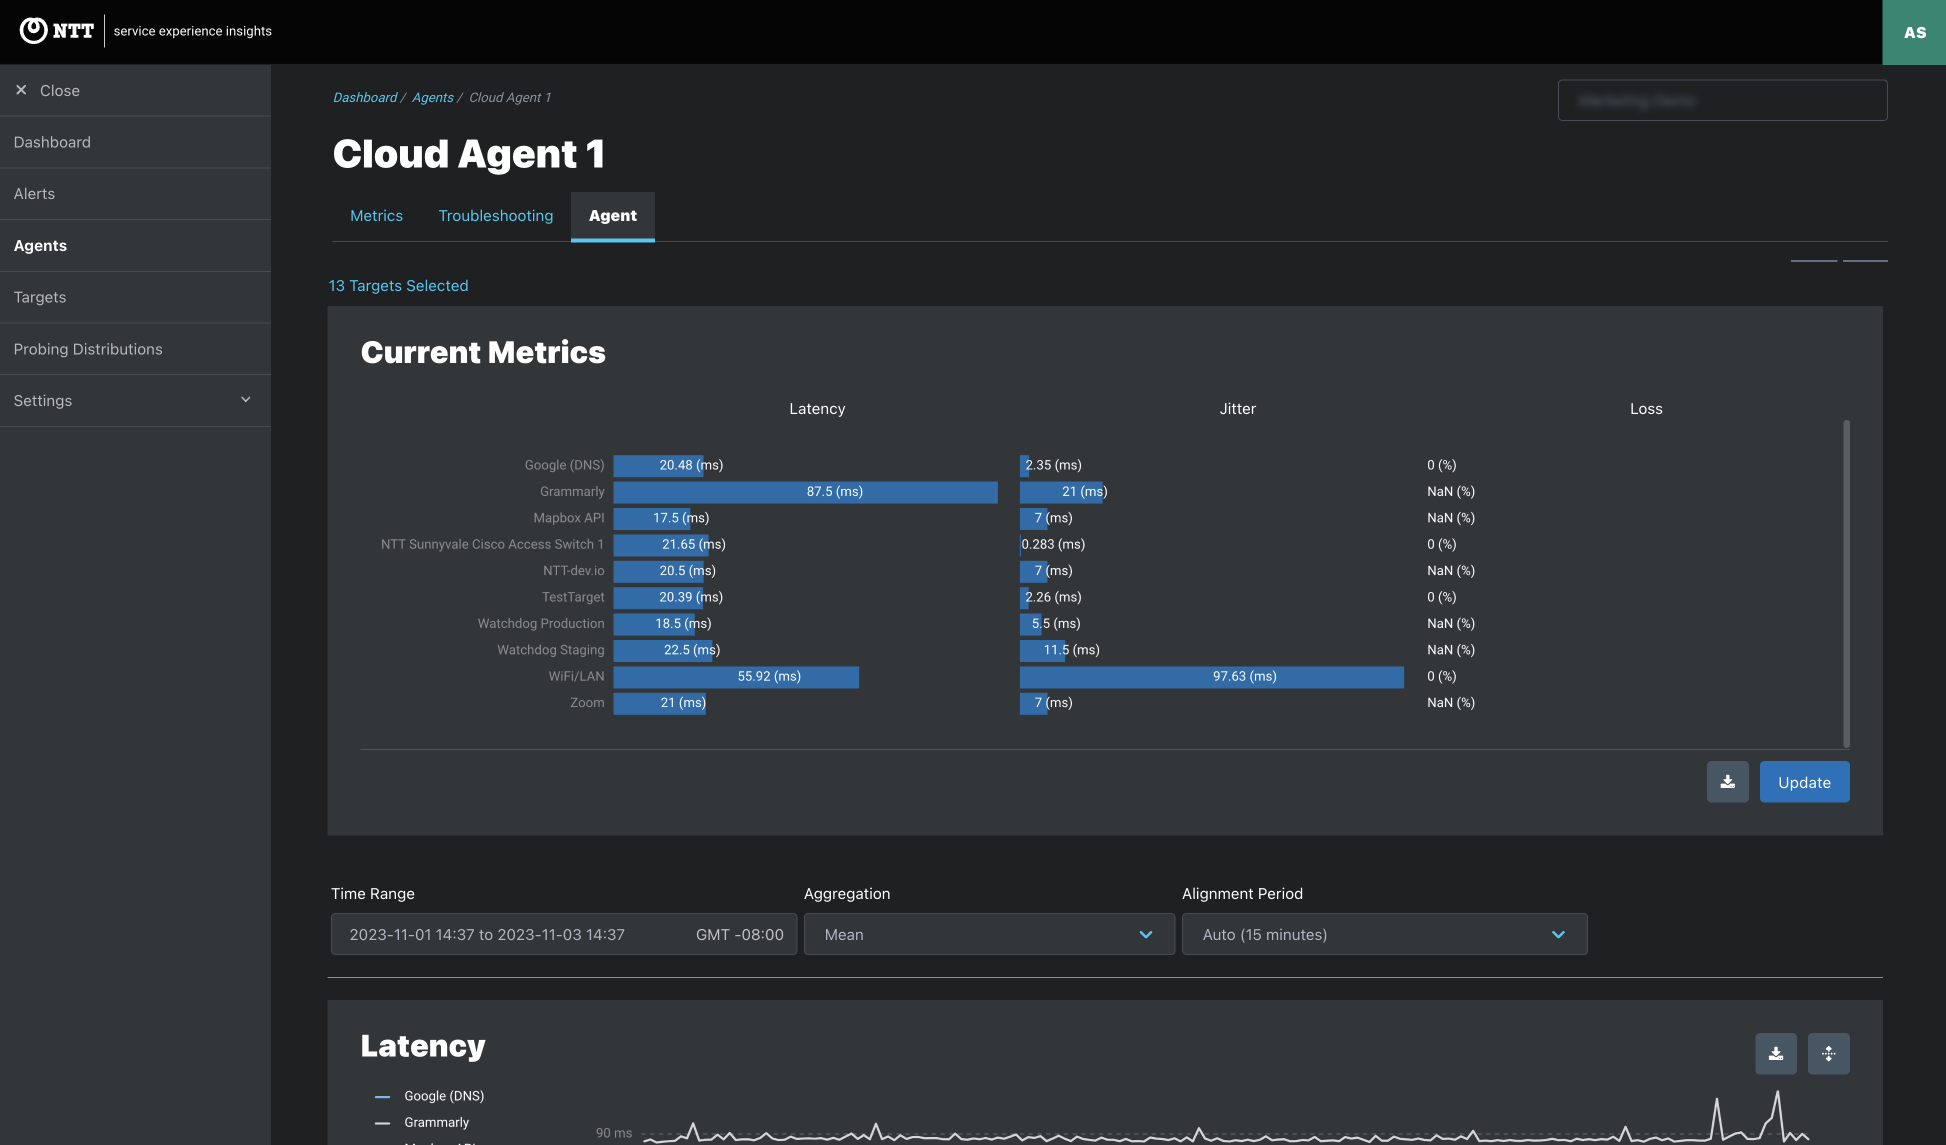
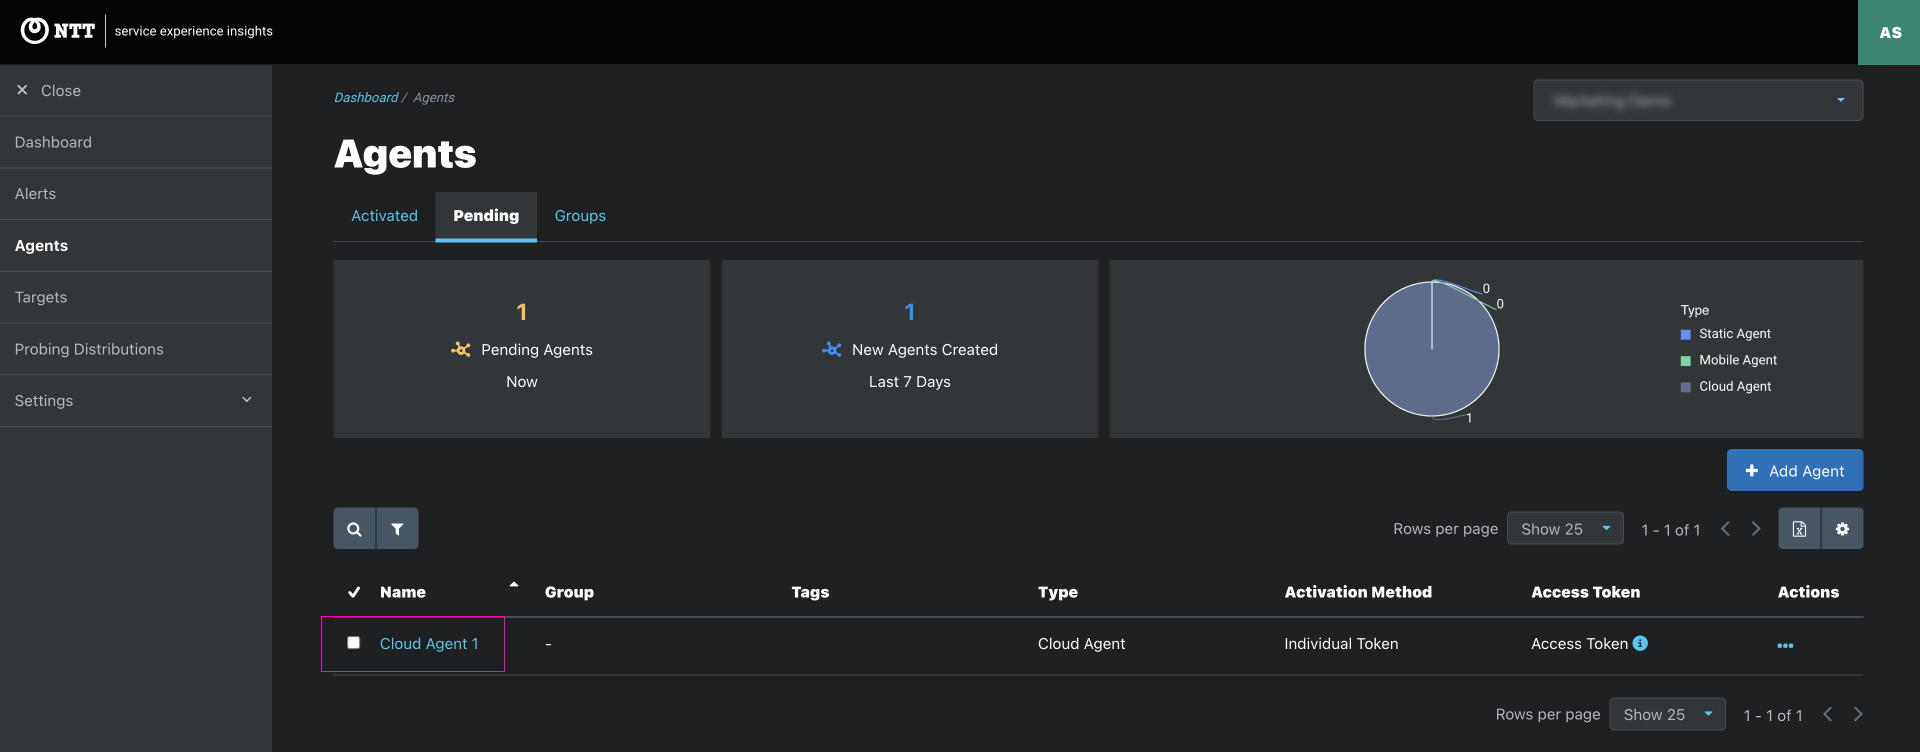
Go to Agents > Pending tab to search for the newly created agent.
Click the agent’s name to view the agent.
Running a SEI Agent Container
To run an SEI Agent container, you can use the docker run command. Like other applications, the SEI Agent requires some host volumes to be mounted to the container and some parameters passed as environment variables. The name of the SEI Agent container image is cloudwan/watchdogagent:latest.
The following example works in most environments by replacing <ACTIVATION_TOKEN> with the activation token fetched in the previous step.
docker run -d --rm --privileged \
  --name watchdogagent \
  --network host \
  -v /opt/watchdog:/etc/watchdog \
  -v /lib/modules:/lib/modules \
  -v /usr/src:/usr/src \
  -e "ACTIVATION_TOKEN=<ACTIVATION_TOKEN>" \
  -e "CONTROLLER_DOMAIN=apis.edgelq.com" \
  cloudwan/watchdogagent:latest
Notes:
The image file will be pulled (downloaded) automatically when it’s not stored locally.
Checking The SEI Agent Container Status
The docker ps shows the list of containers running on the VM. Note that stopped containers are not included in the output from this command. To see stopped containers, add the -a option to the command.

Logs of The SEI Agent Container
The docker logs command shows you the log from a container process. To see the log from the SEI agent container created above, run docker logs watchdogagent. The -f option is useful to follow the log file for new lines.
$ docker logs watchdogagent
2023-06-29 22:04:01,868 CRIT Supervisor is running as root.  Privileges were not dropped because no user is specified in the config file.  If you intend to run as root, you can set user=root in the config file to avoid this message.
2023-06-29 22:04:01,870 INFO RPC interface 'supervisor' initialized
2023-06-29 22:04:01,871 CRIT Server 'unix_http_server' running without any HTTP authentication checking
2023-06-29 22:04:01,871 INFO supervisord started with pid 1
2023-06-29 22:04:02,874 INFO spawned: 'watchdogagent' with pid 8
2023-06-29 22:04:02,878 INFO spawned: 'watchdogupdater' with pid 9
Stopping the SEI Agent Container
The docker stop command stops a container, and docker stop watchdogagent stops the SEI Agent container. Appending --rm to the command removes the container after it stops.
$ docker stop watchdogagent
watchdogagent
Updating the SEI Agent Container
The SEI Agent supports two methods of updates:
By default, the SEI agent container is set to automatically update the internal binary files to the latest version, regardless of the Docker image version.
Most SEI Agent releases update automatically, and no action is required.
Should you prefer to maintain a static version (i.e. external image version not equal to the internal binary version, ) disable automatic updates by setting the environment variable to DISABLE_AUTO_UPDATE=true.
New Docker images are released with each SEI version.
While these images infrequently require user action due to our internal update mechanism, certain scenarios, such as end-of-life (EOL) base images or adding new commands to the SEI Agent, require a manual Docker image update.
When such a release is announced, execute docker pull cloudwan/watchdogagent:latest to update to the latest version.
Backward compatibility:
Agent Release Notification
Removing the SEI Agent Container Image
Use the docker rmi command to emove the SEI Agent container and SEI Agent container image. Run docker rmi cloudwan/watchdogagent:latest to delete the image file. Note that this command files when there’s a running container using the image.
Wait five minutes and check the SEI dashboard to confirm successful activation.