en-US

Static Agent for Docker


User roles required for this deployment

Admin Co-admin Asset Manager Viewer
Agents Add
Edit   (Agent Name Blocked)
Delete
Probing Distributions Add
Edit
Delete


Overview

A variety of agent software is provided that supports deployment in heterogeneous network environments. Dockerized static agents enable deployments to the existing infrastructure without purchasing additional host device hardware.

  • Static agents are certified for deployment to Cisco 9K series application-hosting devices.
  • The latest static agent version is available in the public Docker repository and is activated with an activation token.
  • The following article describes the SEI steps required for this deployment.
  • Please refer to the hardware vendor's user guide for deploying Docker containers.


Confirm host environment

Cisco Catalyst 9300, 9500 with the following available system resources are thoroughly tested and verified.

  • Confirm that the host has available resources to host the SEI agent Docker image.
    • Available memory: 100MB
    • Available storage: 500MB
  • If the host is behind a firewall, confirm outbound internet access and firewall rules:
    • Configure outbound firewall settings listed in the Firewall Settings article
    • Allow the agent’s full probing functionality by adding all outbound protocols listed to the firewall policy.
  • Route outbound HTTP/HTTPS traffic through a proxy server if required:
    • Enable proxy by configuring the Docker environment settings listed in the Proxy Settings article.
    • Outbound ICMP, UDP traffic, and inbound agent-to-agent probing cannot be routed through the proxy.
  • Confirm the agent's outbound access to Speed Test targets:
    • Speed Test uses HTTP CONNECT requests to upgrade the HTTP connection to WebSocket, and some HTTP proxy servers reject HTTP CONNECT ports to non-SSL ports by default.
    • If the HTTP proxy server is configured on the host OS or SEI agent AND the Speed test server is not SSL enabled, Confirm that your HTTP Proxy server allows HTTP CONNECT requests to non-SSL ports.

Create agent record in SEI dashboard

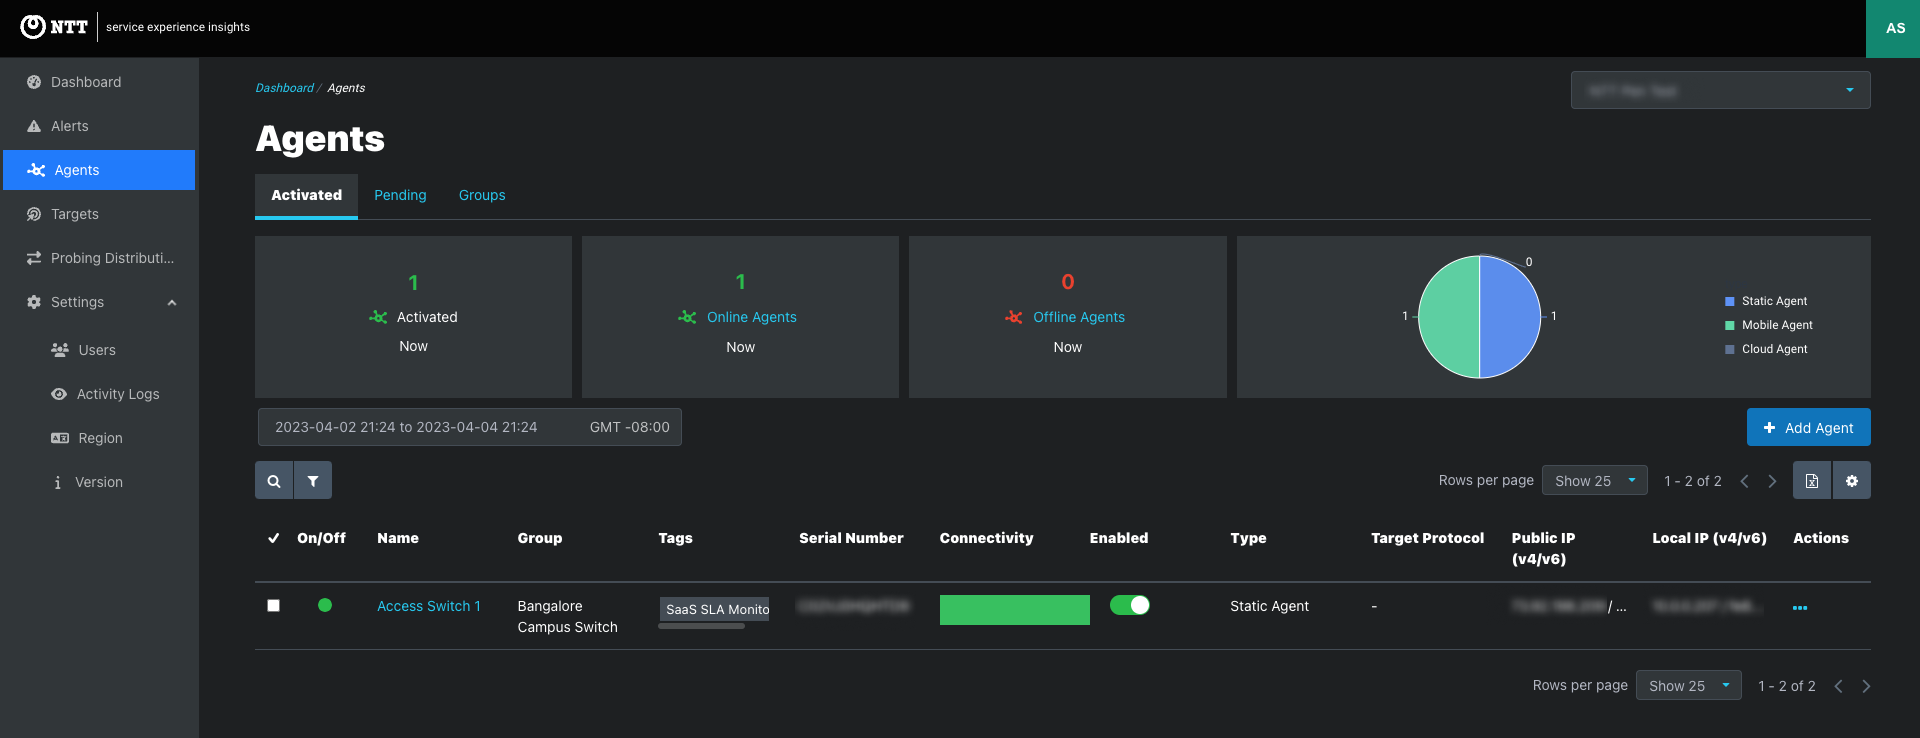
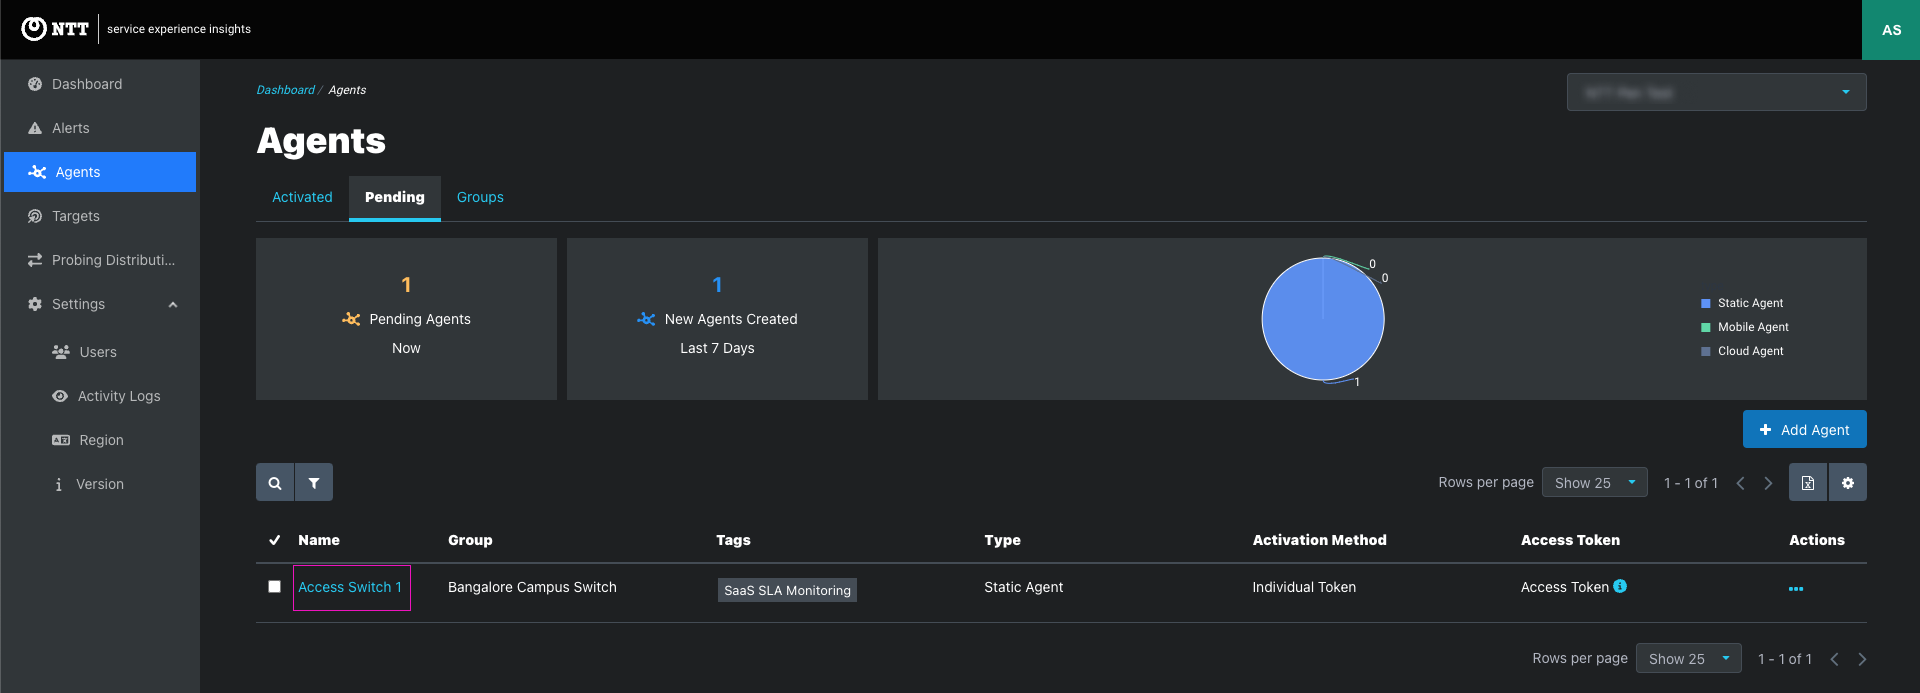
Create an agent for each host device

Click the Add Agents button on the Agents page

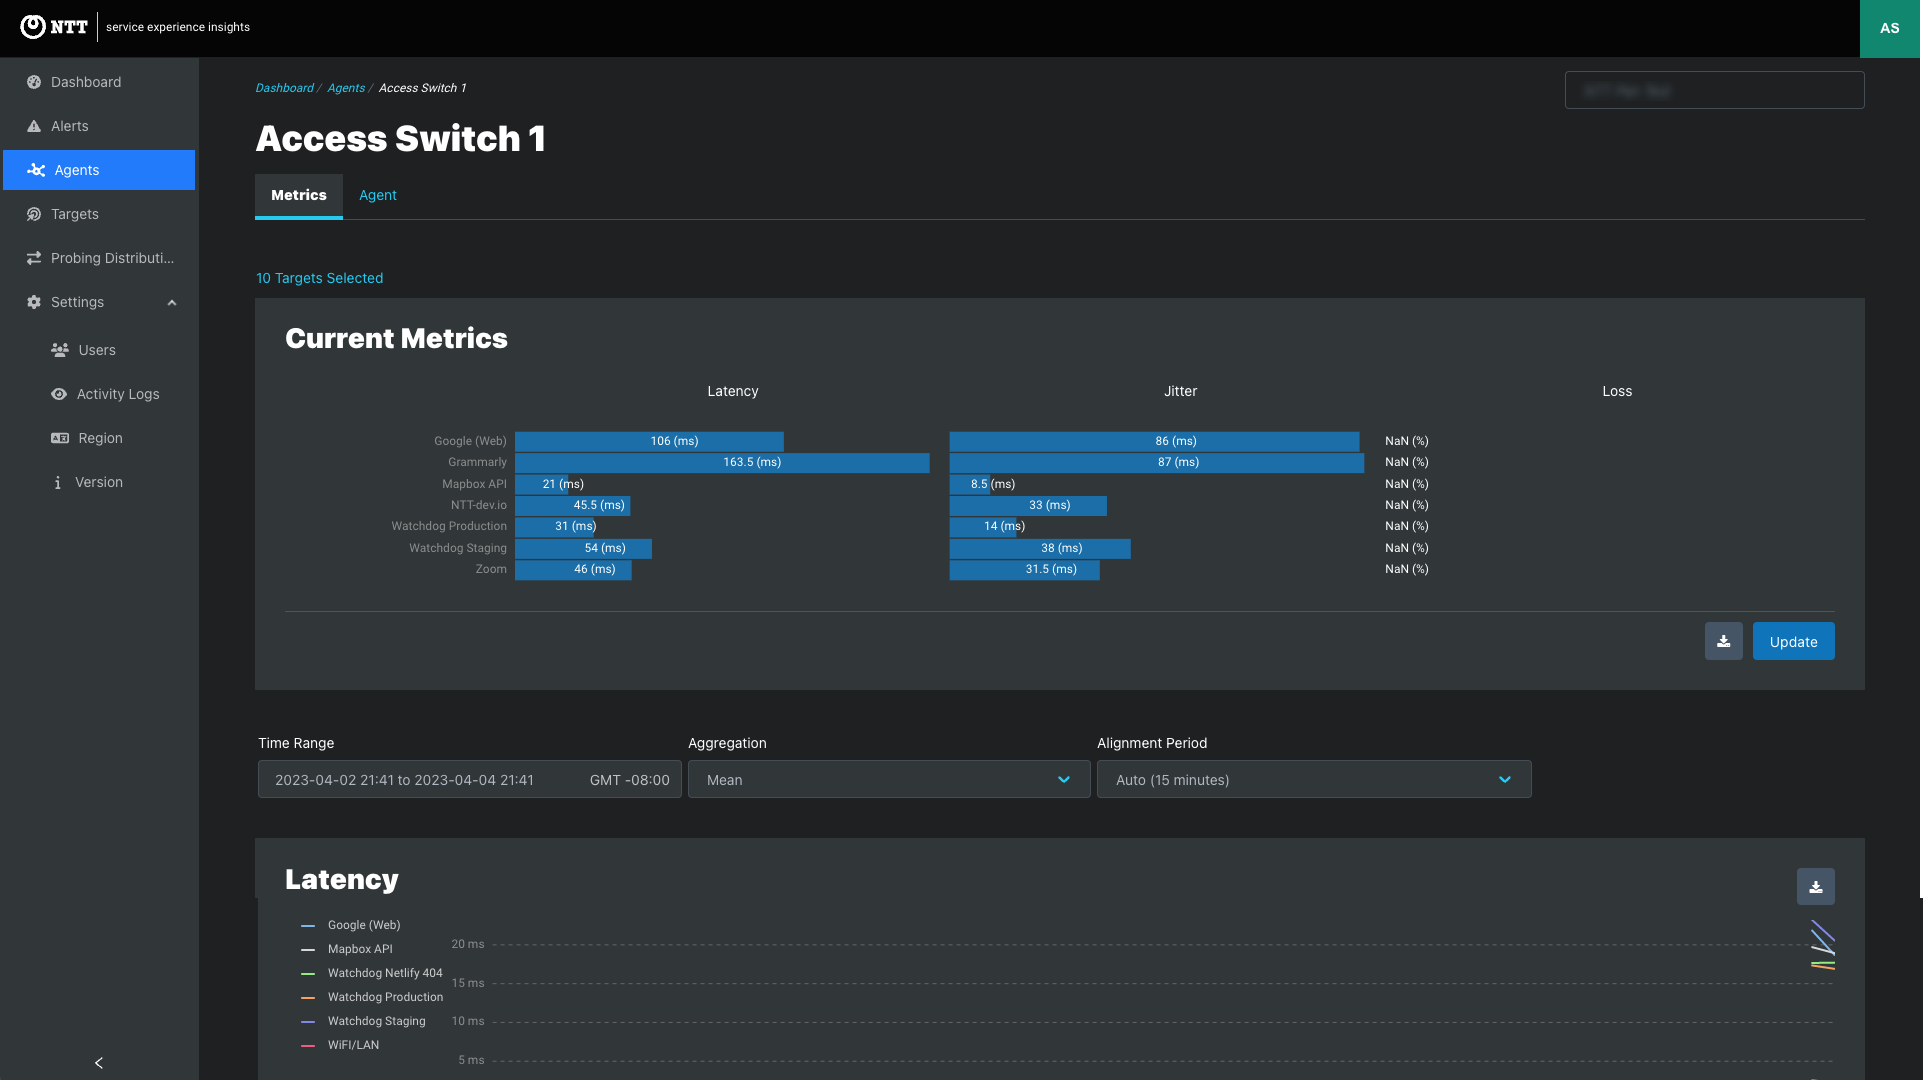
Following are agent configurations for this deployment. See the Agents article for more information about agent configuration

Input Input Type Options Instructions Required
Name Text -- Enter a display name for the agent.
  • Choose an agent name that logically represents the agent's role in the network.
  • Logical naming conventions often include the host's name, location or role in the network.
Required
Group Single select dropdown Select an existing group
  • If a new group is needed, complete the agent creation process.
  • After the agent is added, create a new group in the Groups tab of the Agents page.
  • Select the newly-created agent from the Pending tab.
  • Click the actions ellipsis to open the agent edit modal.
  • Assign the agent to the newly created group and save.
Tags Multiselect dropdown Select an existing tag or add a new tag
  • Type a tag name to search existing tags
  • If the search text does not match an existing tag, a new tag is created and assigned to the agent.
Type Single select dropdown
  • Static Agent
  • Mobile Agent
  • Cloud Agent
  • Select Static Agent.
  • Mobile and Cloud Agents are not supported.
Required
Enable As Target Checkbox Unchecked (default)
  • Static Agents support target functionality.
  • With target functionality enabled, Static Agents become managed target agents and respond to other agents' probing.
IP Type Single select dropdown
  • External IP (default)
  • Internal IP
  • External IP allows the agent to accept probing from agents outside of the network.
  • Internal IP allows agent-to-agent probing within a network.
Required for target-enabled agents only
IP Version Single select dropdown
  • IPv4 (default)
  • IPv6
  • Select IPv4 or IPv6
Required for target-enabled agents only
Target Protocol Multiselect dropdown
  • ICMP
  • UDP
  • Speed Test
Select one or more target protocols for this managed target agent. Required for target-enabled agents only
UDP Port Text 5001 (default) Enter UDP Port Required for target-enabled agents only
Speed Test port Text 8080 (default) Enter Speed Test port Required for target-enabled agents only
Activation Method Single select dropdown
  • Individual Token
  • Shared Token
  • Serial Number
  • Individual Tokens are unique single-use tokens for each agent.
  • Shared Tokens enable a single token to activate multiple agents. Shared Tokens are provided by the NTT support team assigned to your project.
  • Serial number activation is used for onboarding agents deployed to hardware with a known serial number.
Required
Location Preference Single select dropdown
  • Prefer Discovered Location
  • Prefer Primary Location (default)
  • Prefer Primary Location Only
  • Select the "Prefer Primary Location Only" option.
  • While location preferences that use IP lookup are supported, this option is the most accurate and strongly recommended for static agents where the host device's location is well-known and unlikely to change, such as corporate campuses and data centers.
Required
Location Text --
  • Enter the partial or complete address.
  • Latitude/longitude can be entered. The physical address/location is automatically resolved when the agent is created.
Required for:
  • Prefer Primary Location
  • Prefer Primary Location Only
Contact Name Text -- Enter the contact name of the person responsible for activating agent software.
Email Text -- Enter the email address of the person responsible for installing and maintaining the agent software. Required
Email Language Single select dropdown
  • English
  • Japanese
  • Defaults to Language preference set in Regions setting
Choose the language for the agent activation email Required when Individual Token selected
Skip Activation Email Checkbox Unchecked (default) Unless checked, Individual Tokens are automatically emailed to the email address in the client record.


Deploy Docker containers to Cisco 9K devices

Fetch Activation Token

  • Shared Token
    • Shared tokens provide the option of using a single token to activate multiple agents.
    • Shared tokens allow the reuse of the same Docker instructions for each agent deployment.
    • To ensure security, shared tokens are never shown in the application.
    • Contact your NTT representative to request a shared token. They will provide the shared token by a secure communication method established between NTT and your company.
  • Individual Token
    • Go to Agents > Pending tab to search for the newly created agent.
    • Click the agent's name to view the agent.

Click to expand
  • Click the Agent tab on the agent page and copy the individual activation token.

Click to expand

Deploy Agent Image for IoS XE


  docker pull cloudwan/watchdogagent:latest

  docker save cloudwan/watchdogagent -o watchdogagent.tar


  run-opts 1 "-e ACTIVATION_TOKEN=<activation token value>” 

  Local Dashboard: Advance Settings->Docker Options ->Input 

  --rm -e ACTIVATION_TOKEN=<activation token value>


Confirm successful deployment

Wait five minutes and check the SEI dashboard to confirm successful activation.

  • Return to Agents > Activated tab
  • Search for the agent
  • A green dot in the first column of the agent row indicates that the agent is active.
  • If the agent is in an agent group in an existing probing distribution, metrics will be visible.
    • Set the time selector to one hour.
    • Click the agent name to view current metrics and the time-series data collected since activation.

Click to expand

Click to expand


In This Article