| Admin | Co-admin | Asset Manager | Viewer | ||
|---|---|---|---|---|---|
| Dashboard Access | Receive Email Invitation | ||||
| Create Login Credentials | |||||
| Reset MFA with token (self service) | |||||
| Requst MFA reset (support service) |
The following article describes the steps to access the standalone Service Experience Insights dashboard.
New users will be informed before the first login of which access method is enabled for their account.
Step 1: Check email for the Service Experience Insights invitation email. Contact the project admin if you did not receive an expected user invitation email.
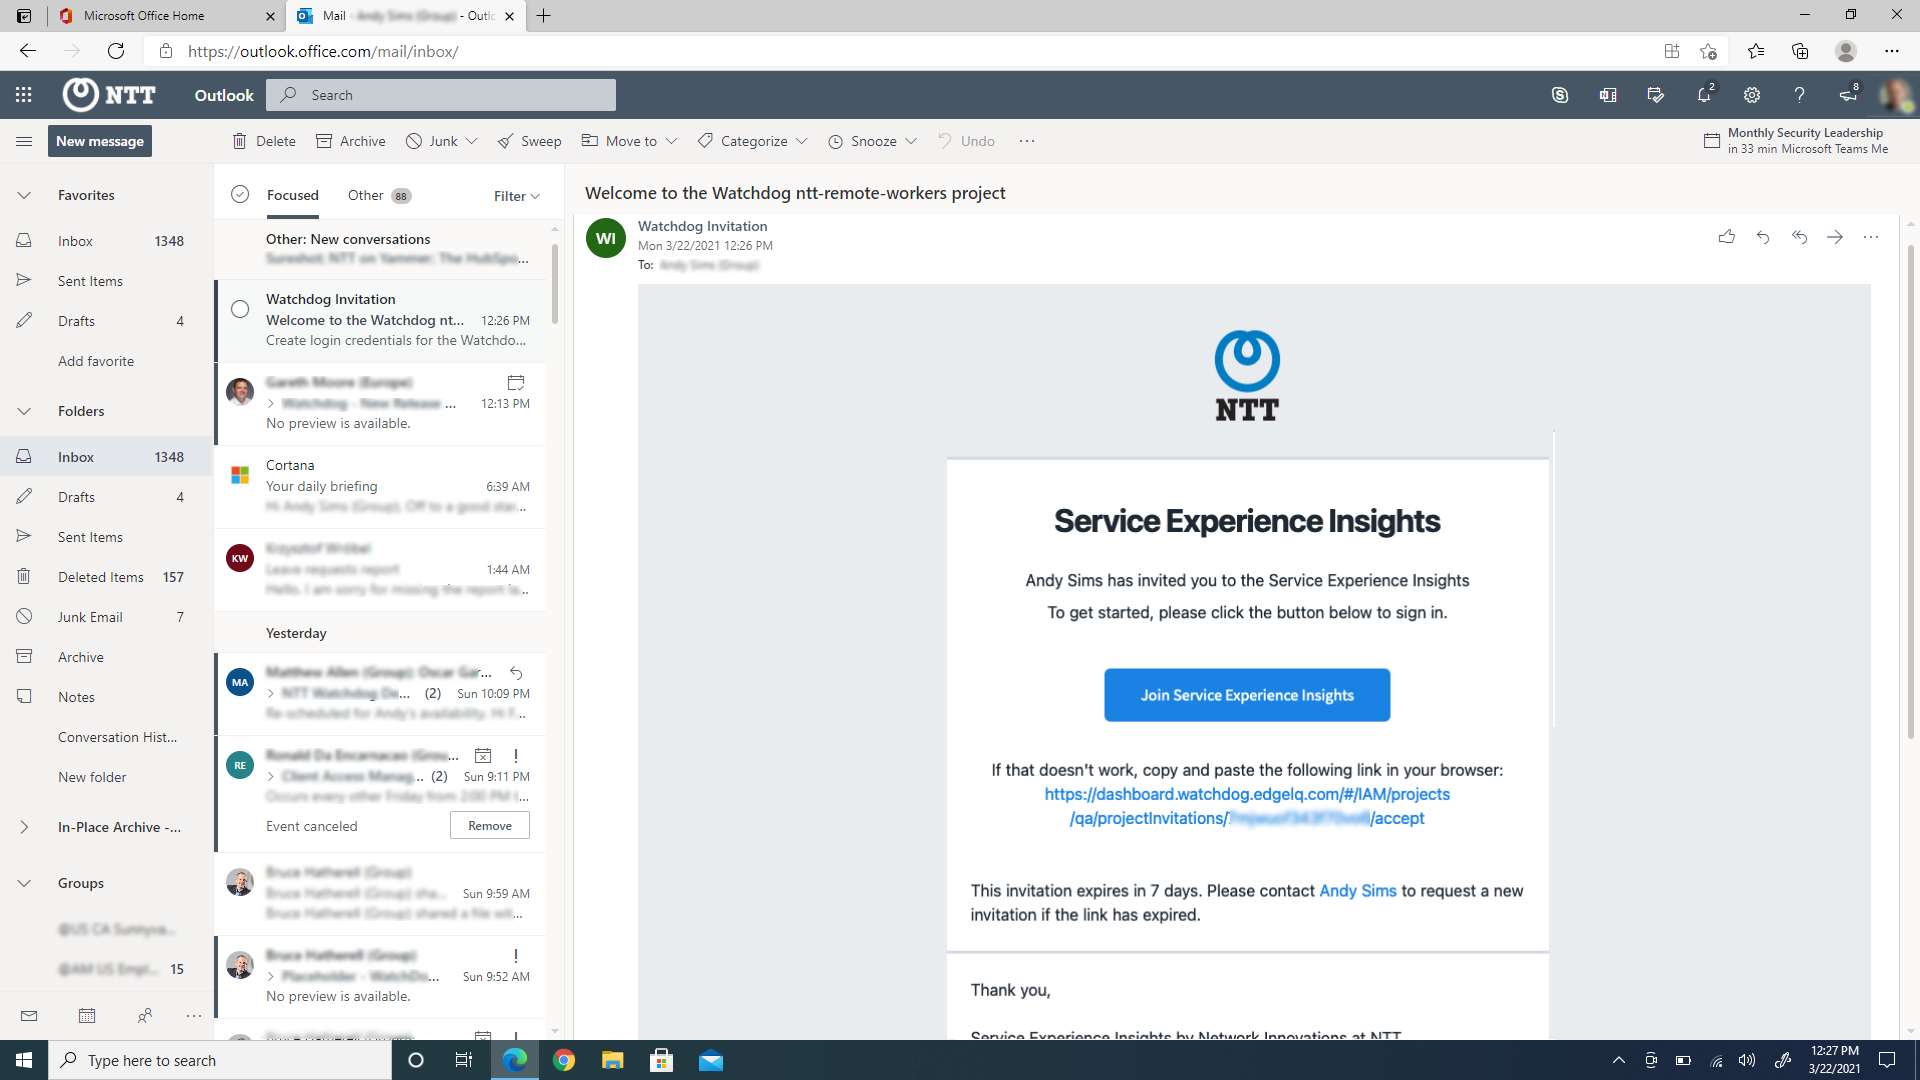
Step 2: Click to be redirected to the login page. Follow these steps to create login credentials and establish MFA.
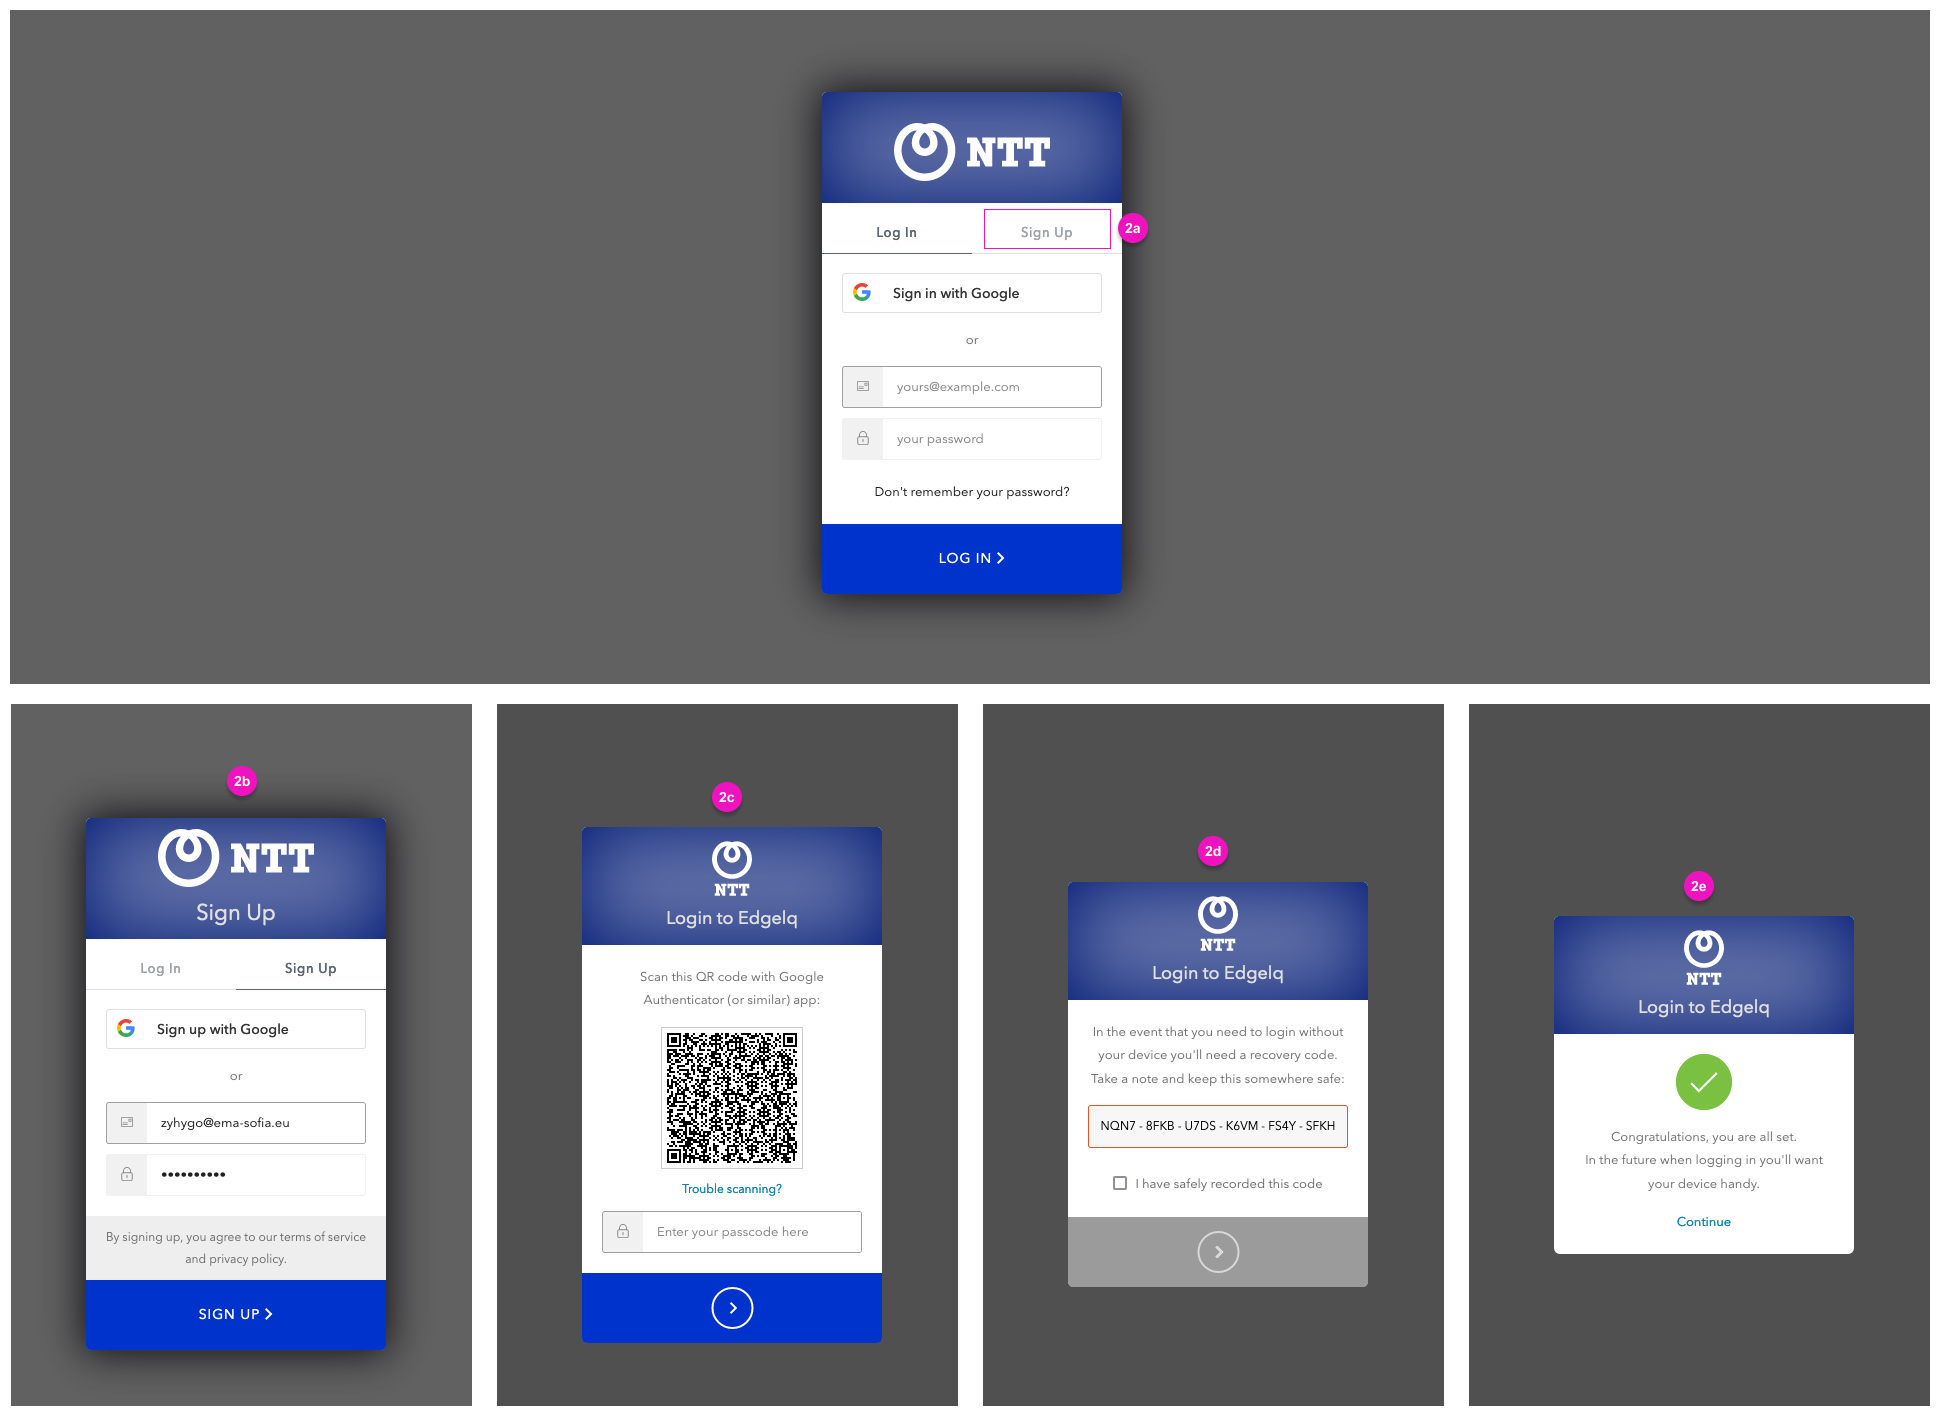
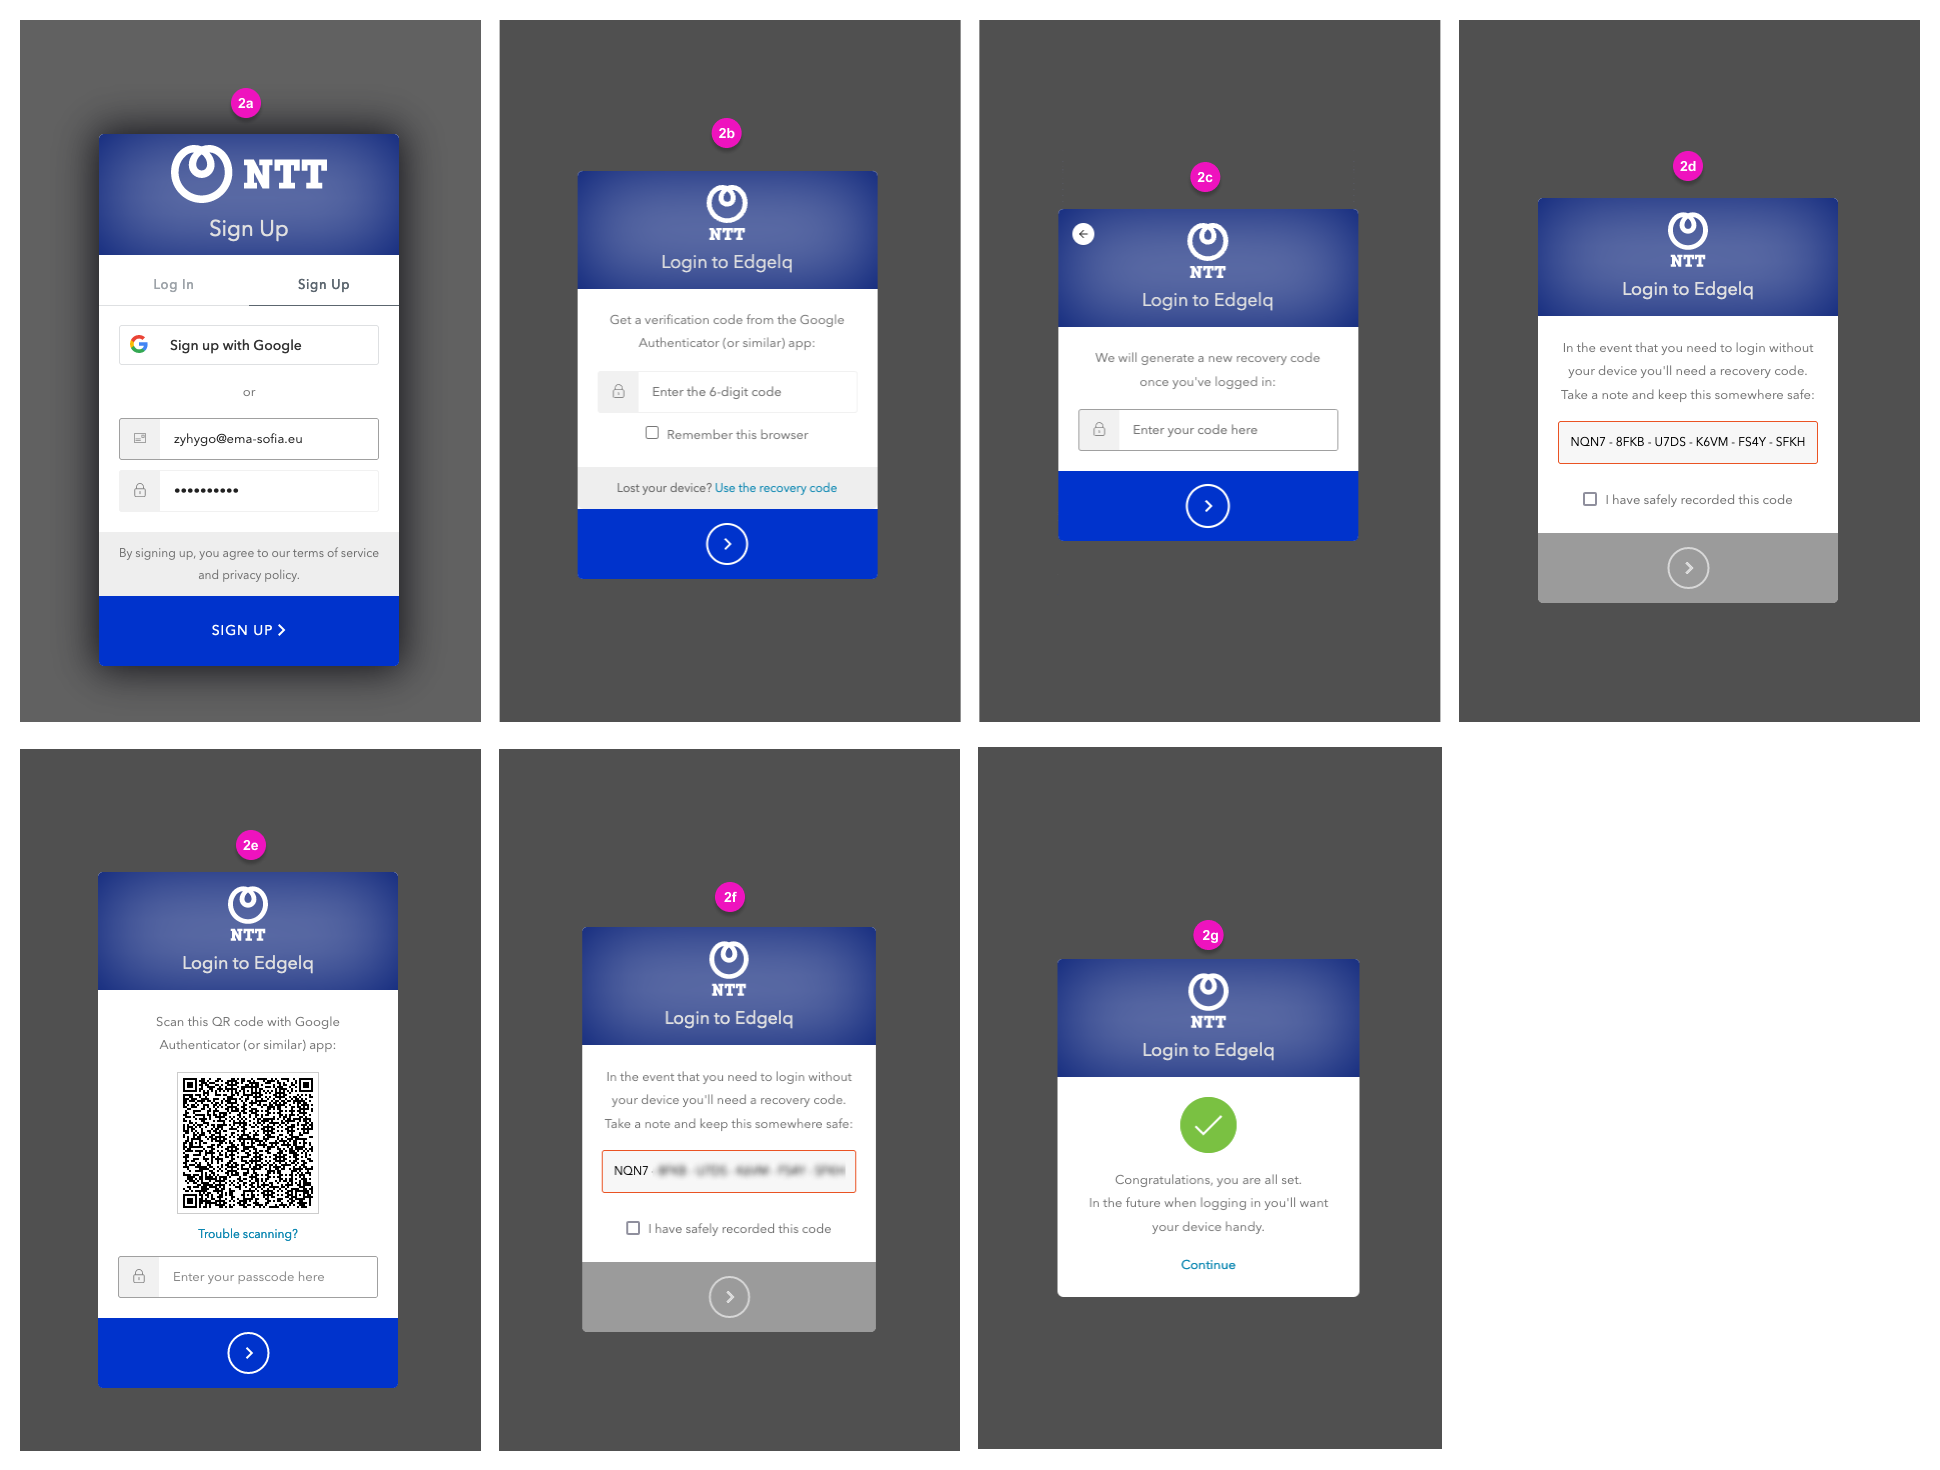
2a. Click the link
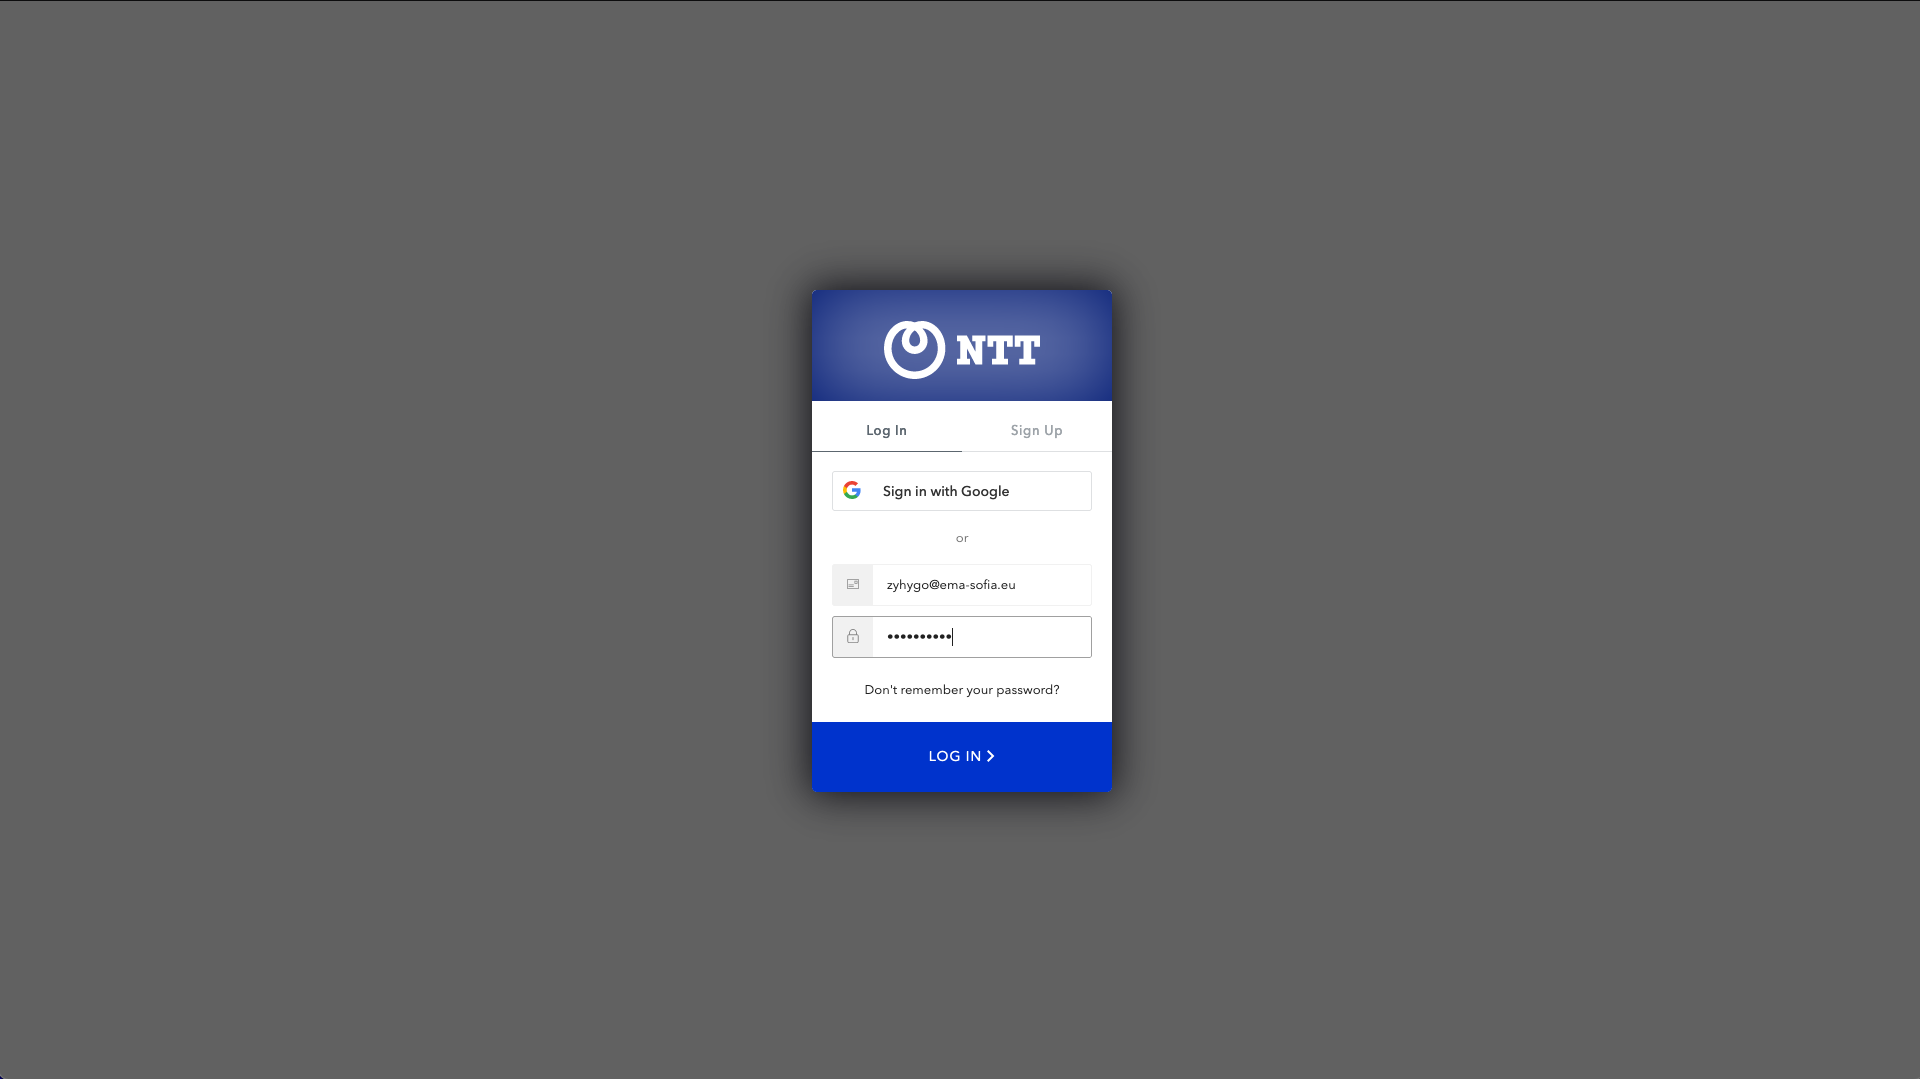
2b. Enter the email address where the invitation was sent and create a strong password
2c. Enable MFA
2d. Save the recovery code
2e. MFA successfully enabled. Click Continue
Step 3: Verify email
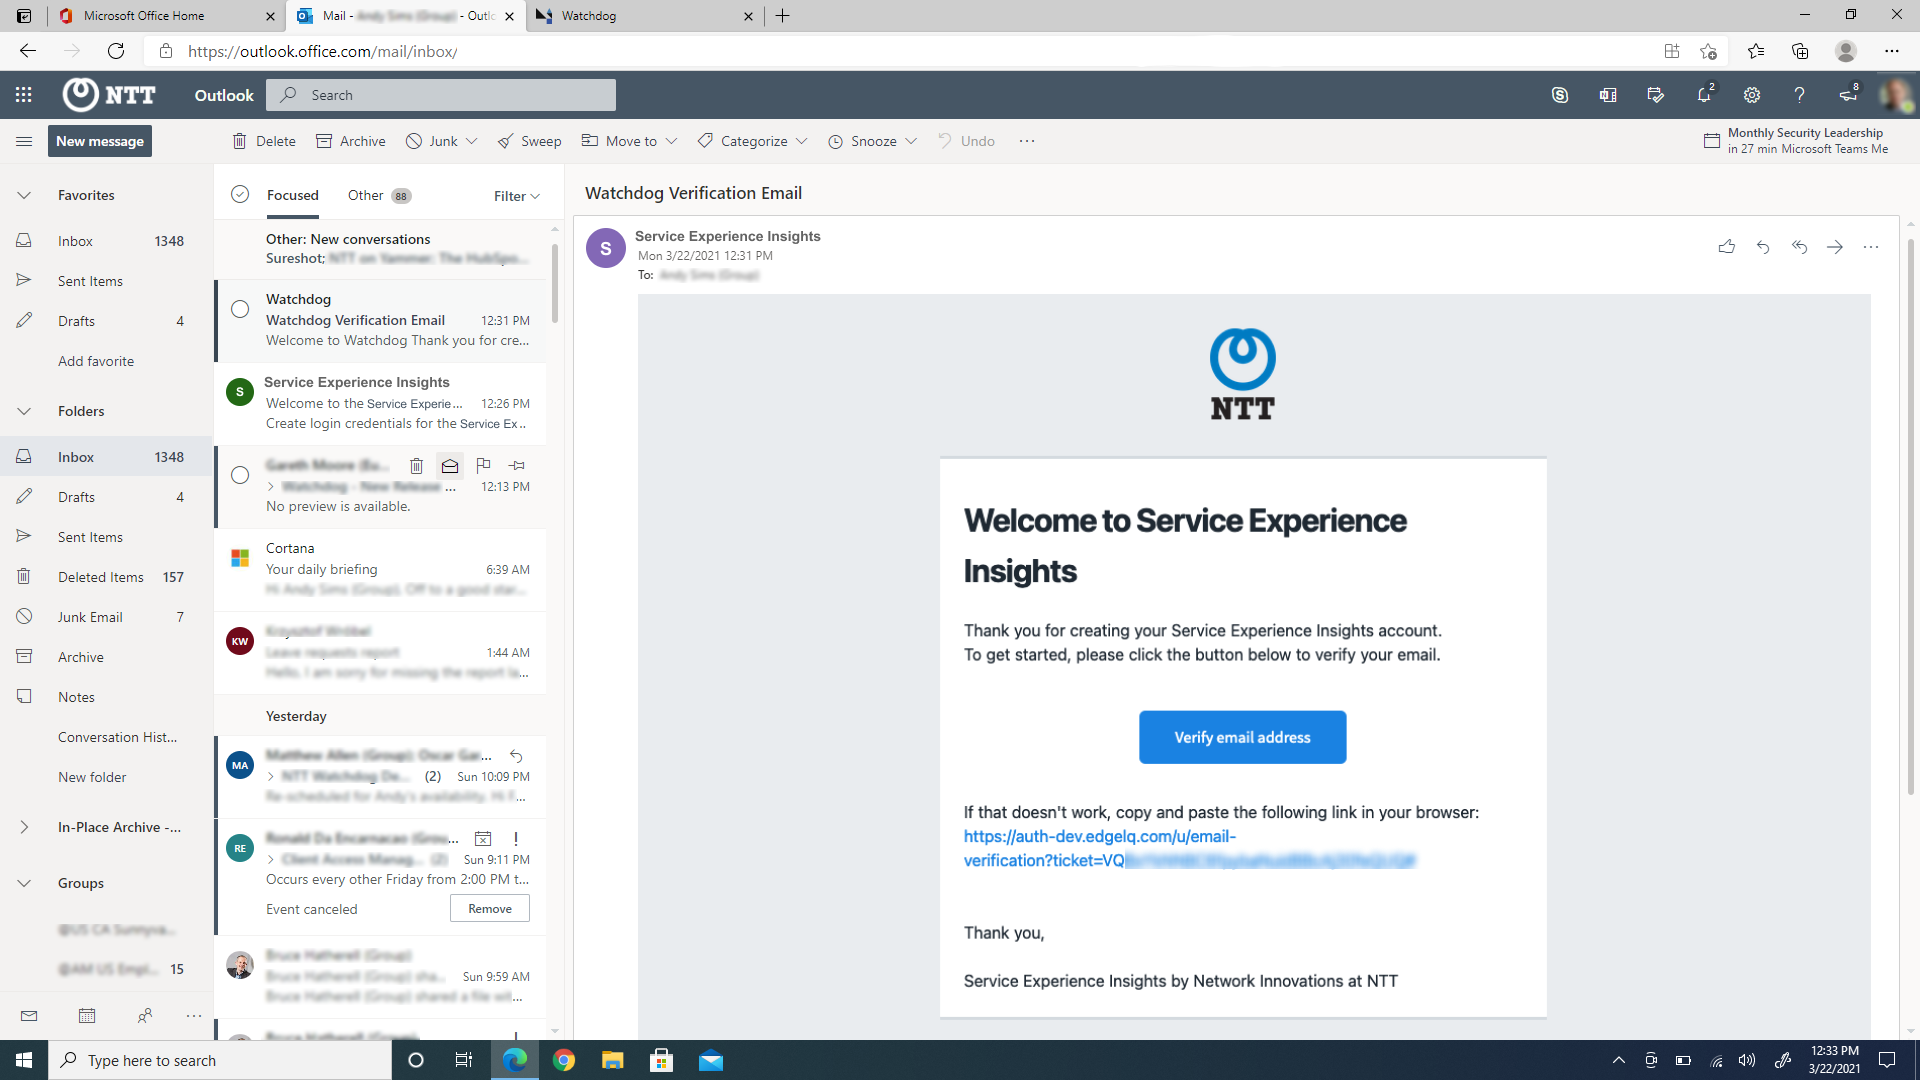
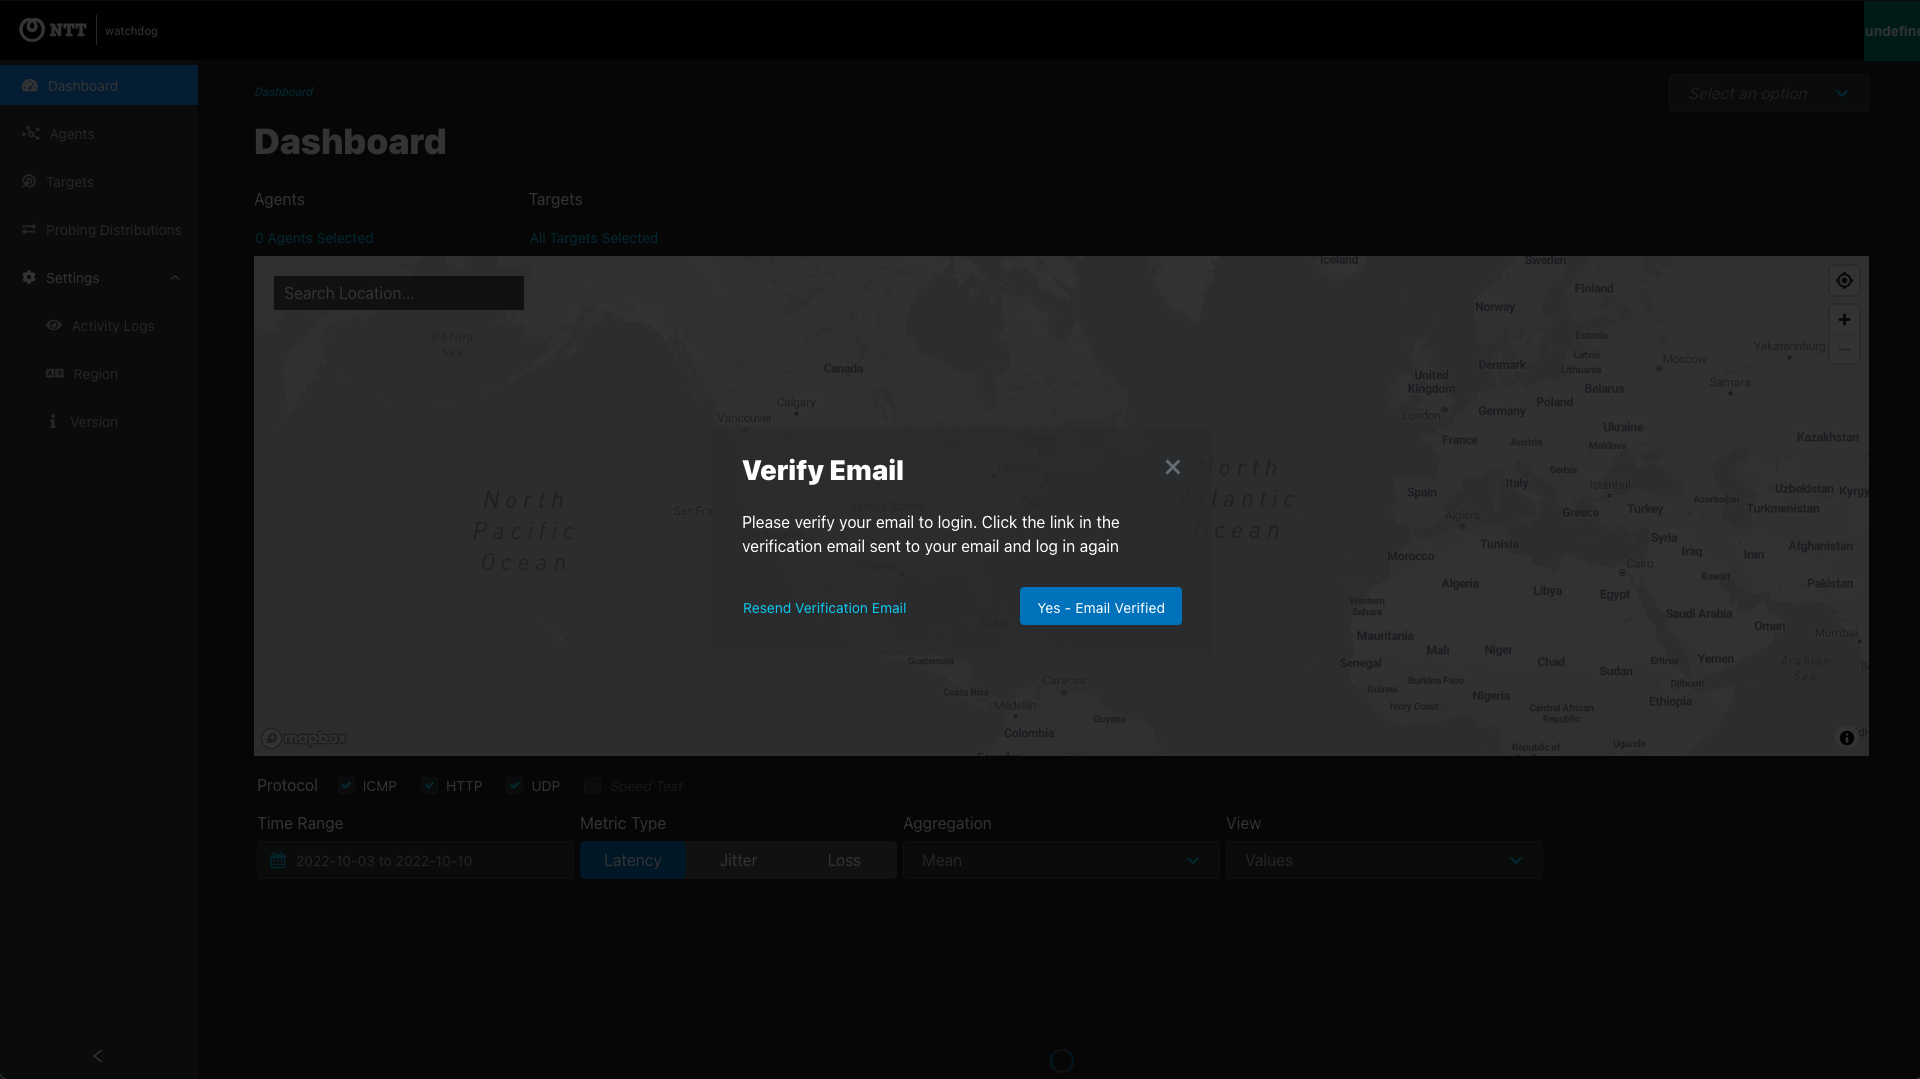
Step 4: Login

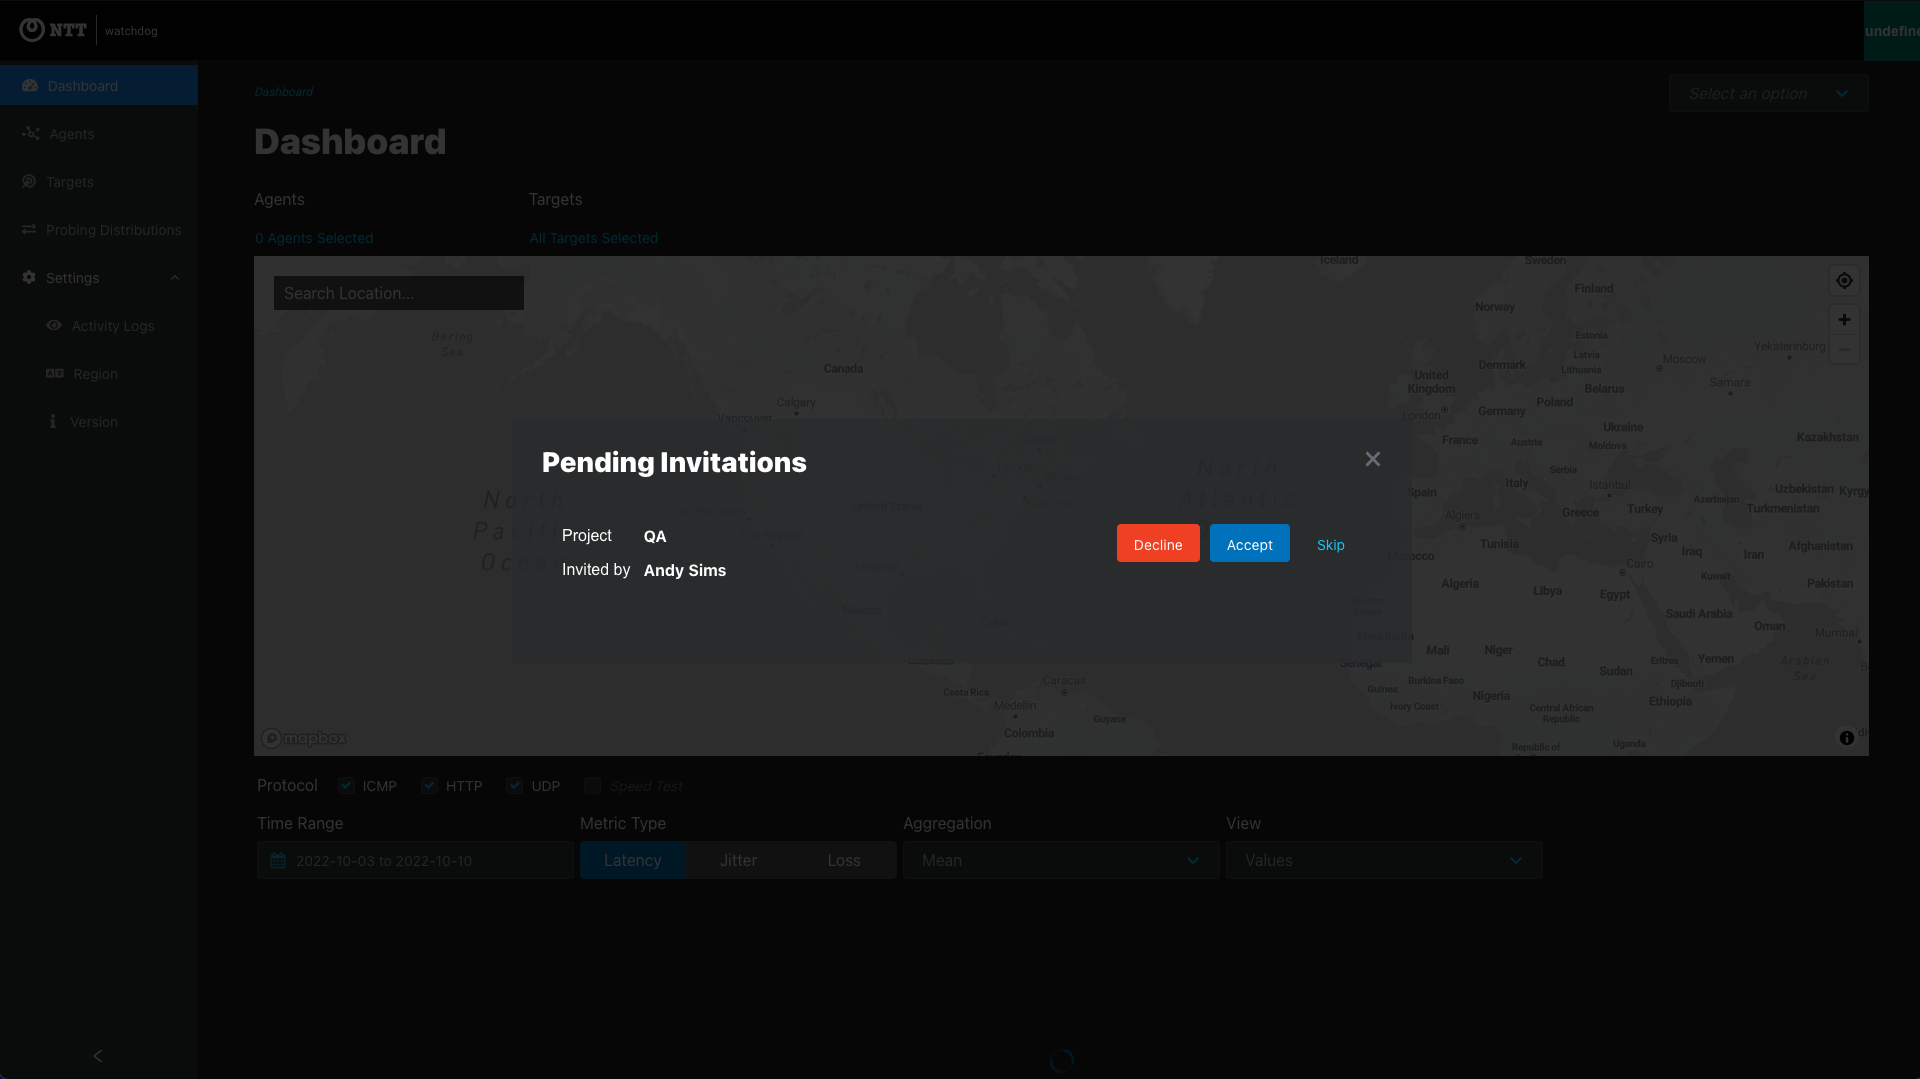
Step 5: Accept project invitation
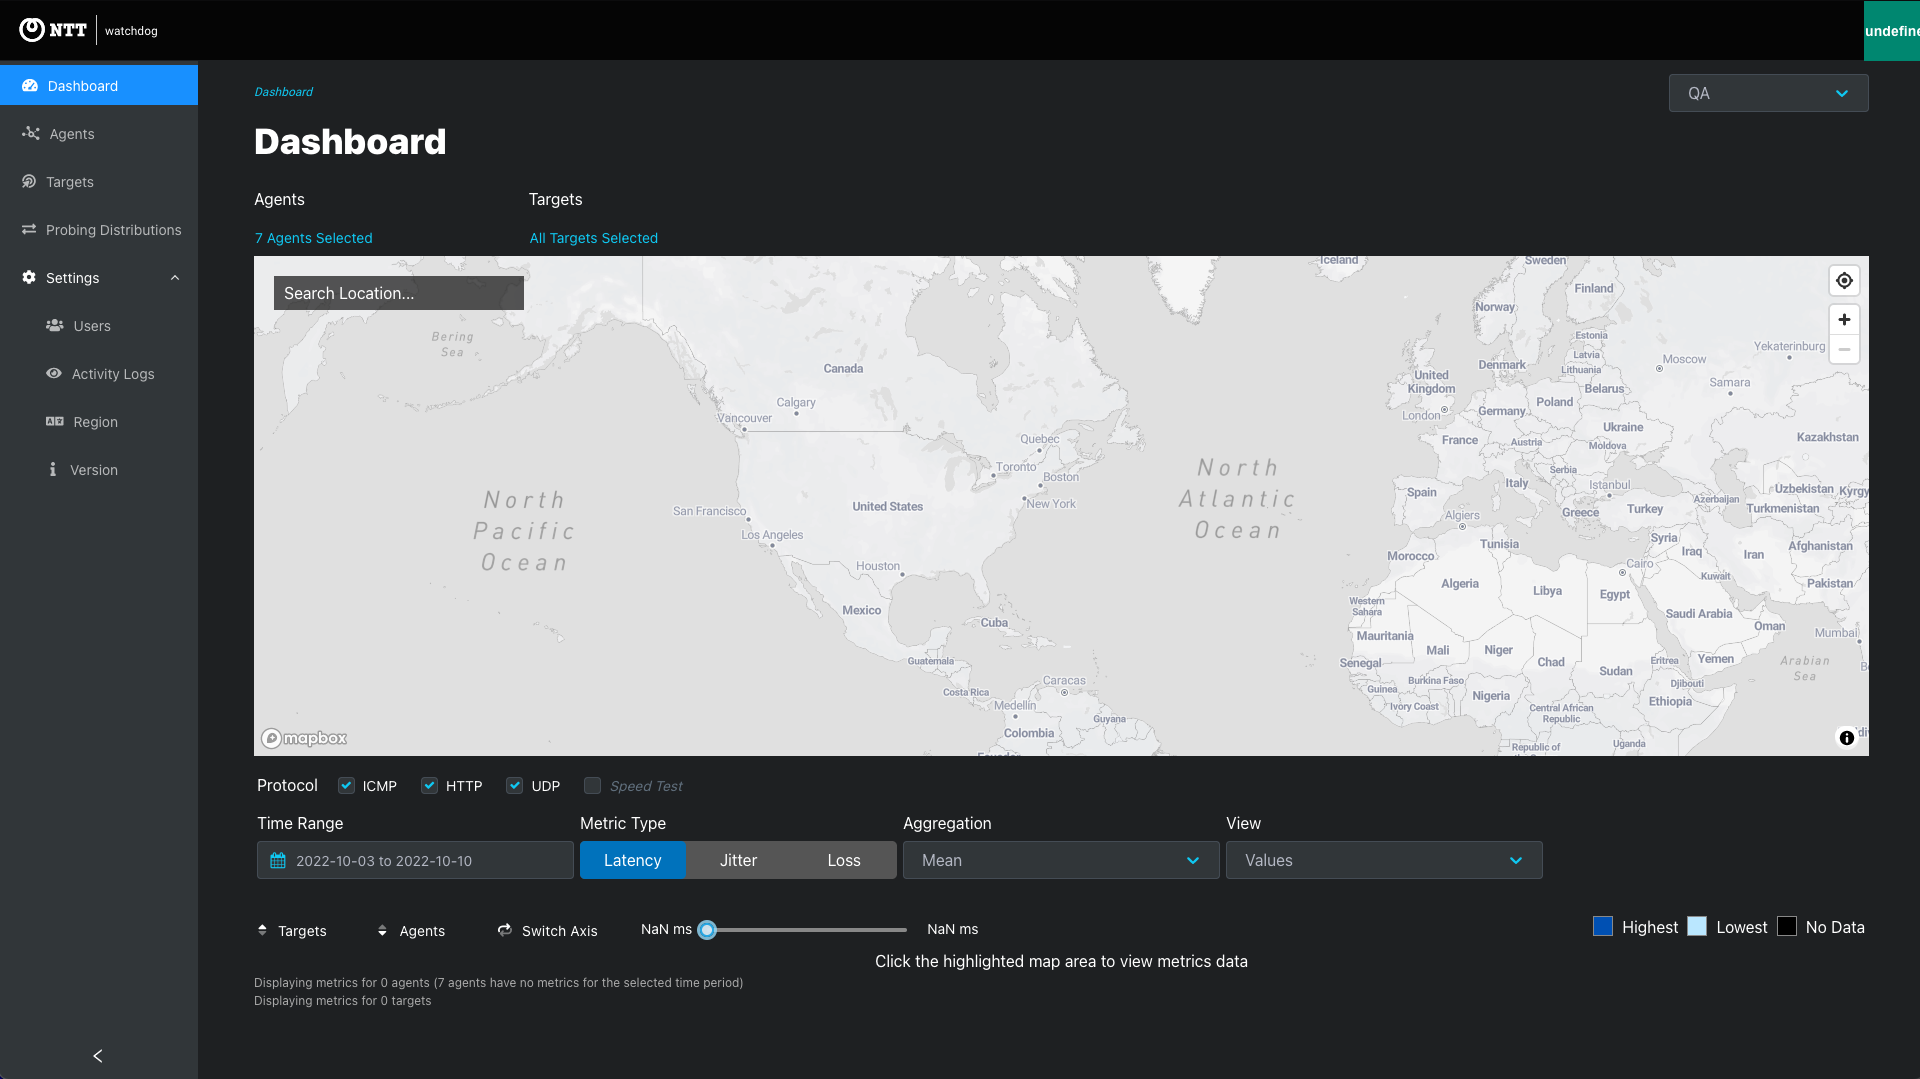
Success
1a-1b. Login 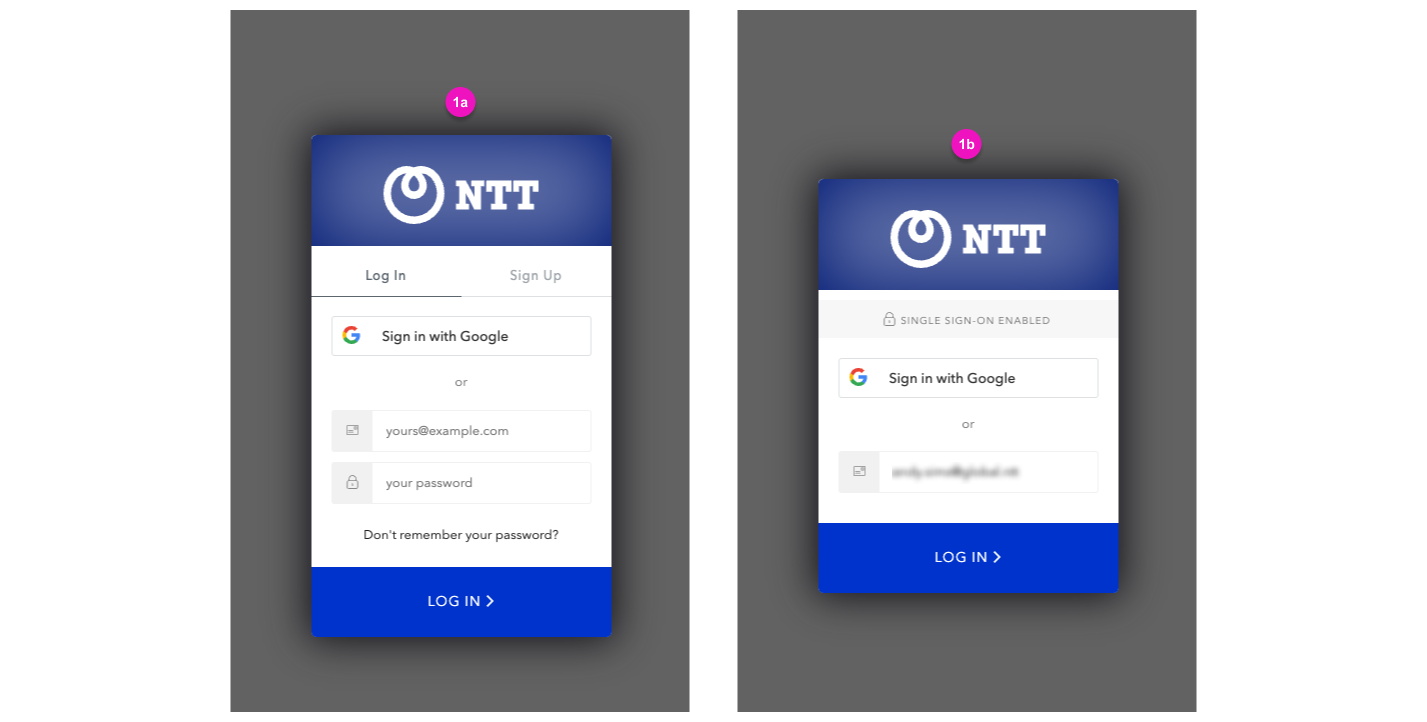
2. Enable MFA 
2a. Open or install an MFA application on your mobile phone
2b. Save the recovery code
2c. MFA successfully enabled. Click Continued
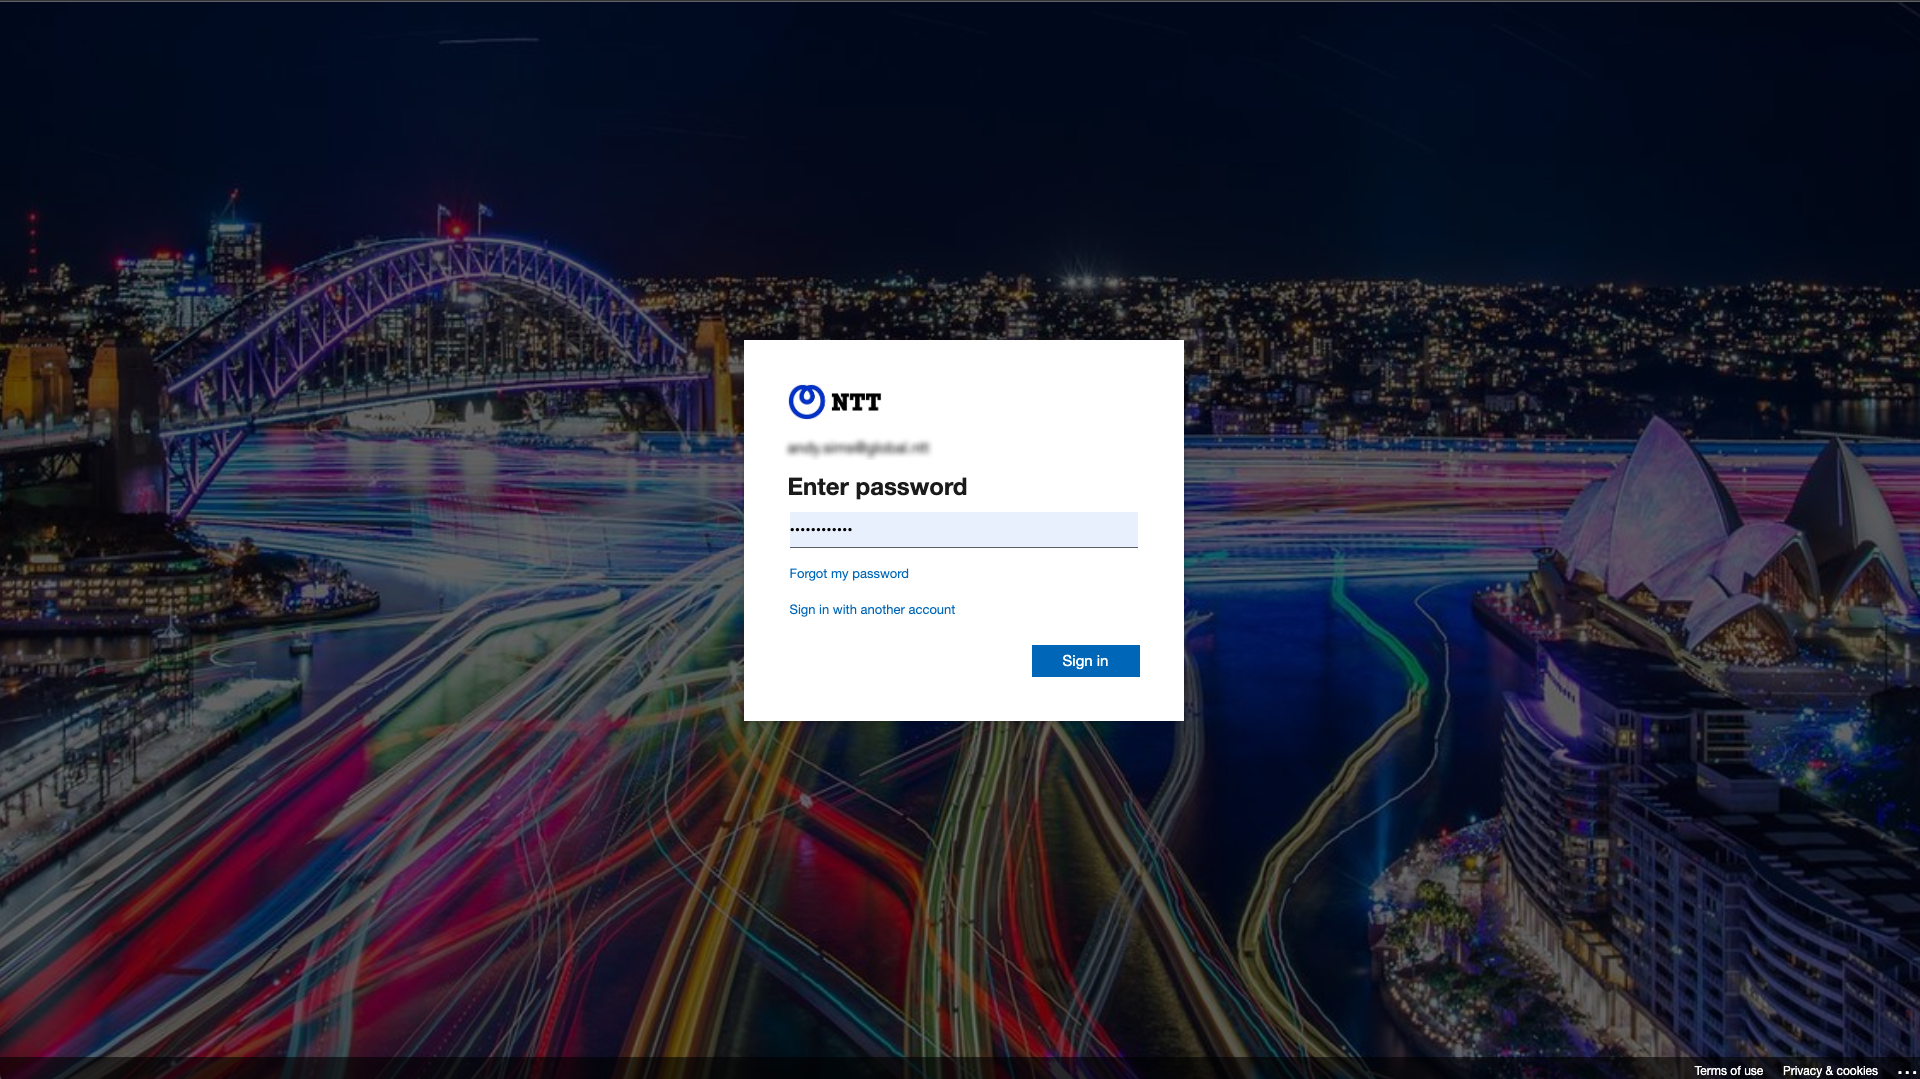
3. Login using email only
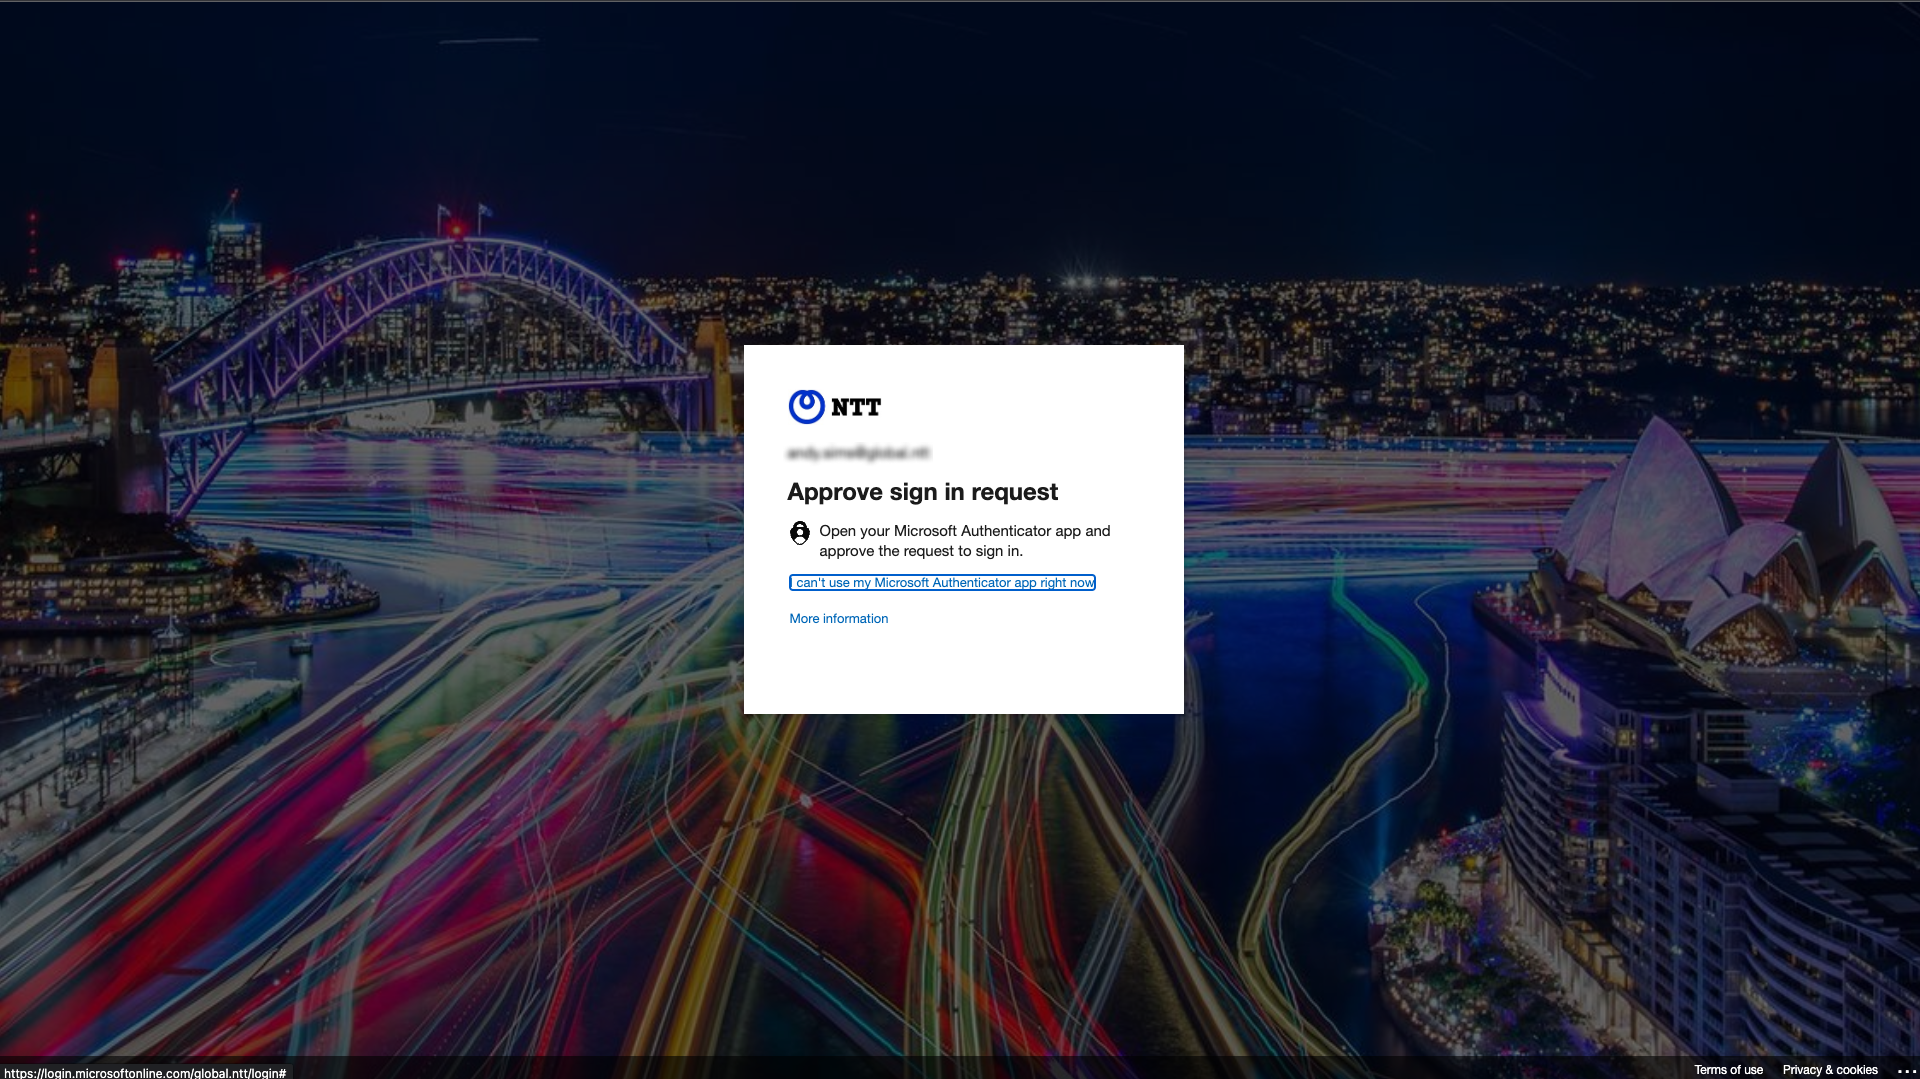
4. Approve login request
Step 5: Accept project invitation
Success
2a. Enter the user name and password
2b. Click Use the recovery code at the bottom of the login screen
2c-2d. Enter the saved recovery code
2e. Open your authenticator application and scan the QR code
2f. Save the new recovery code and click
2g. Click Continue